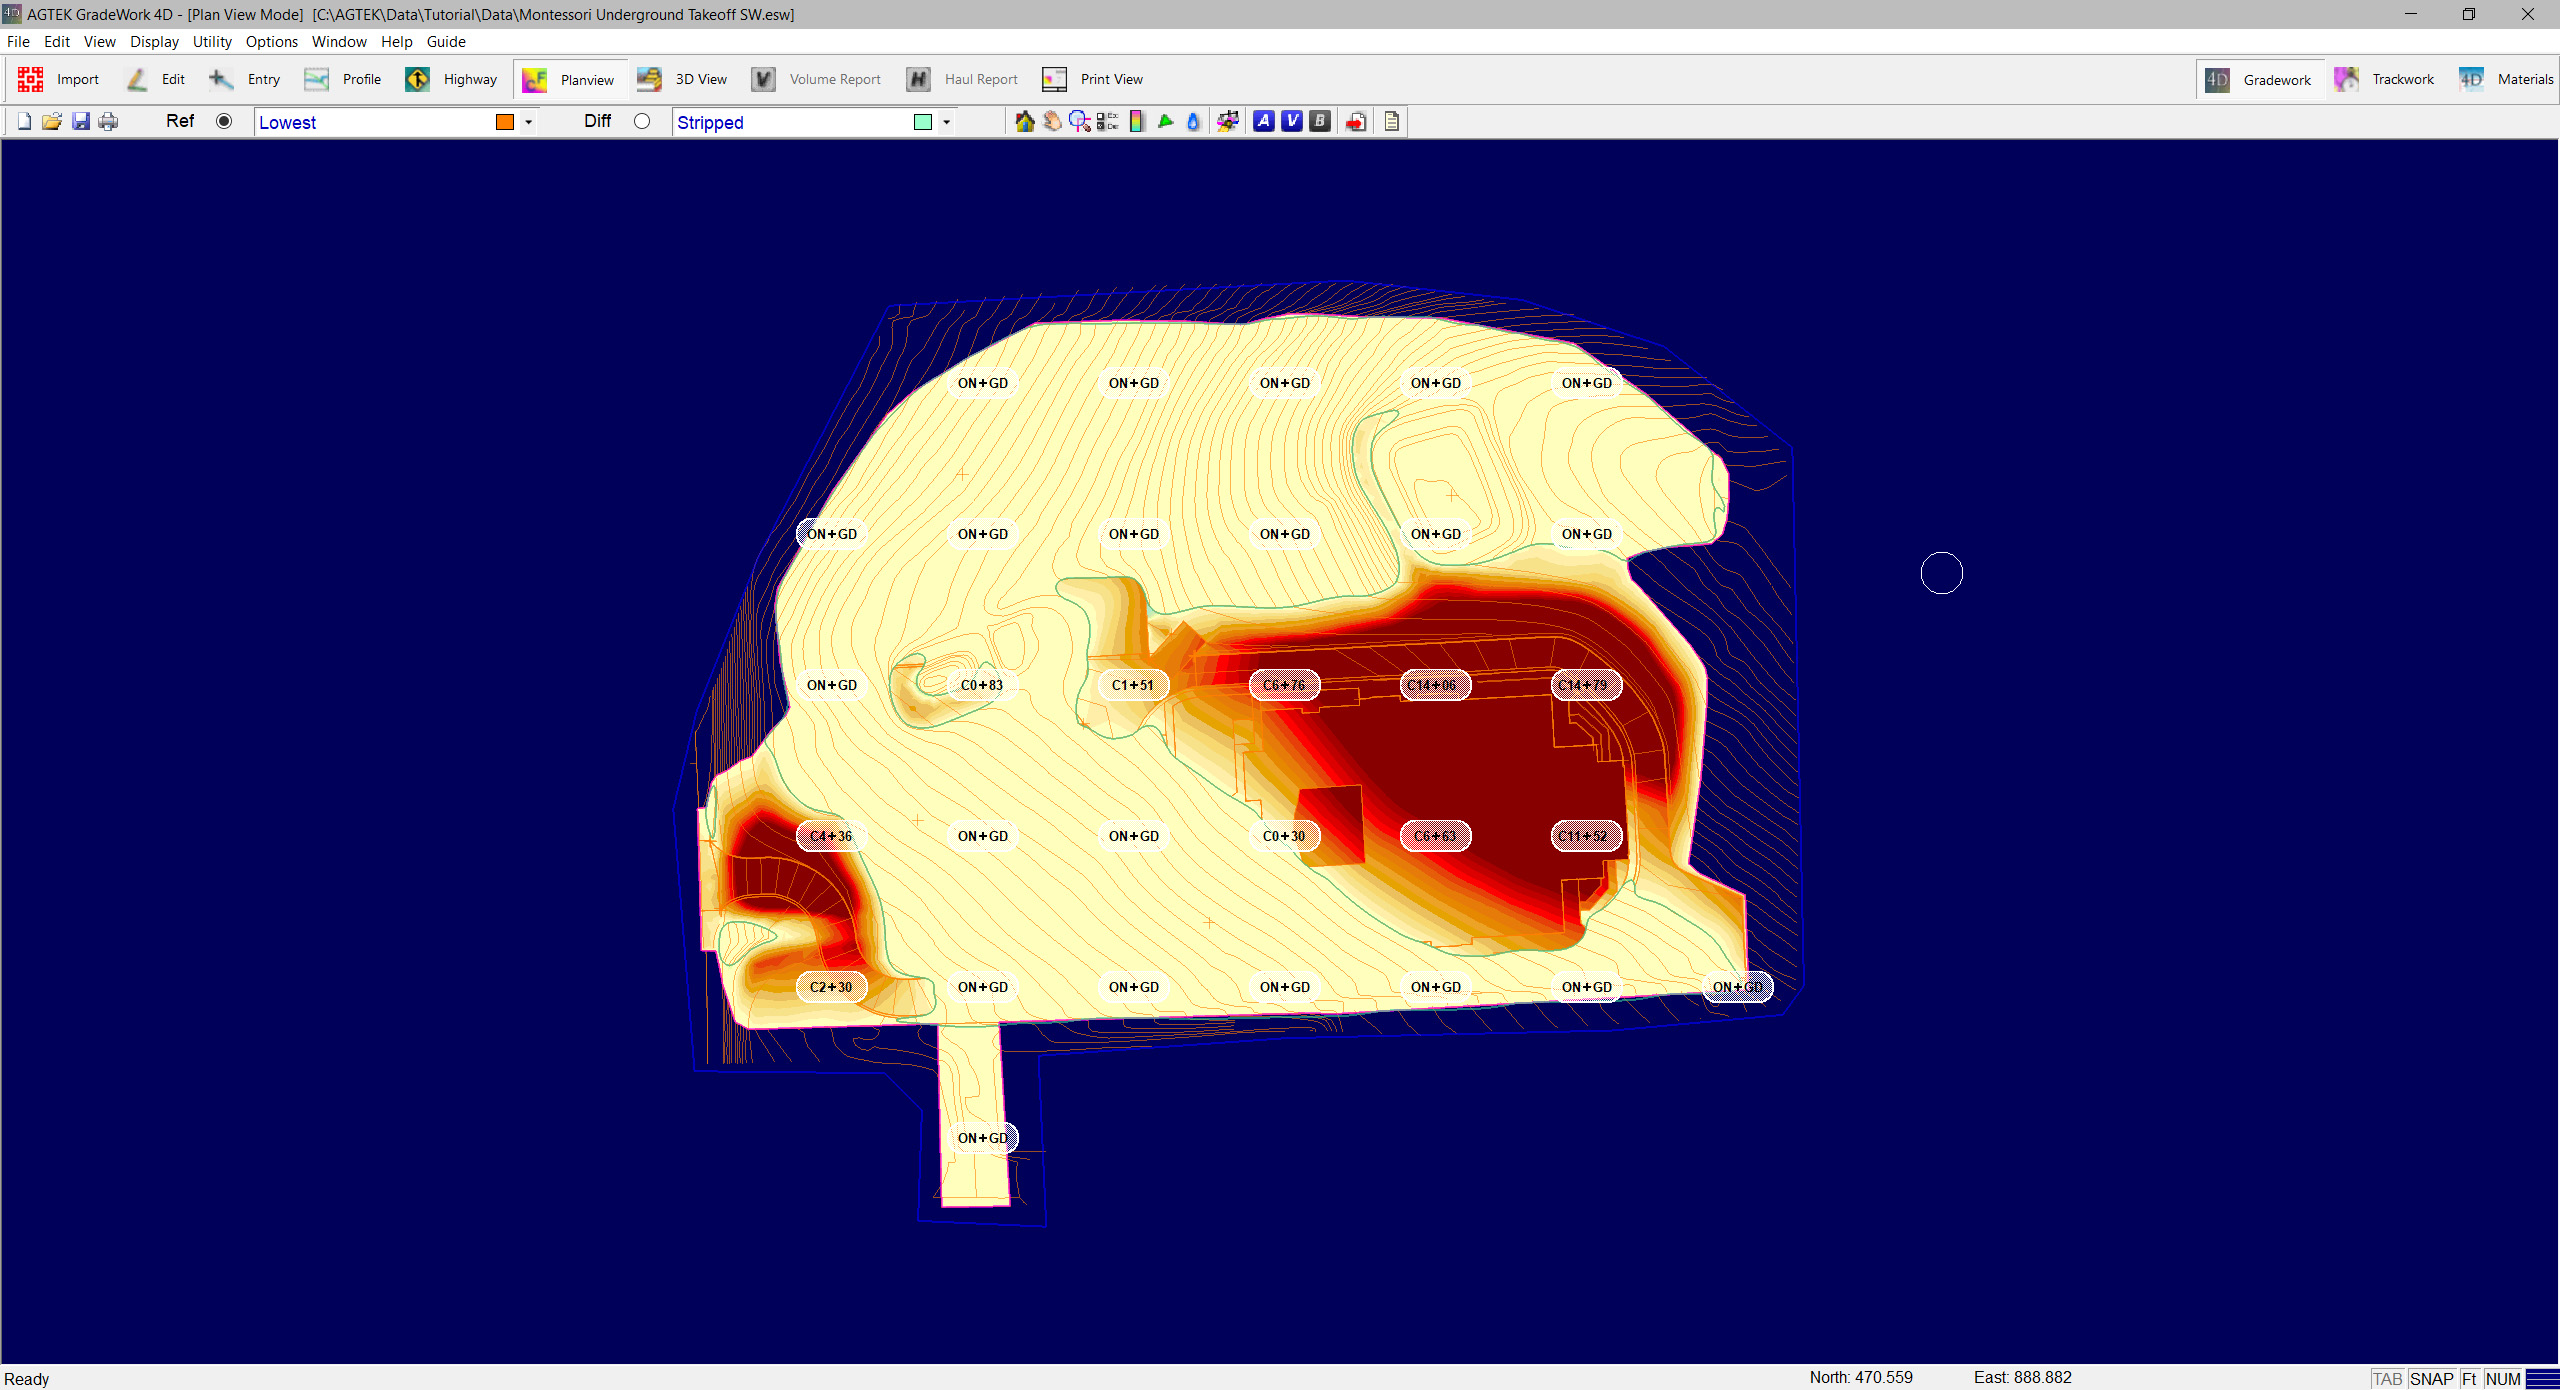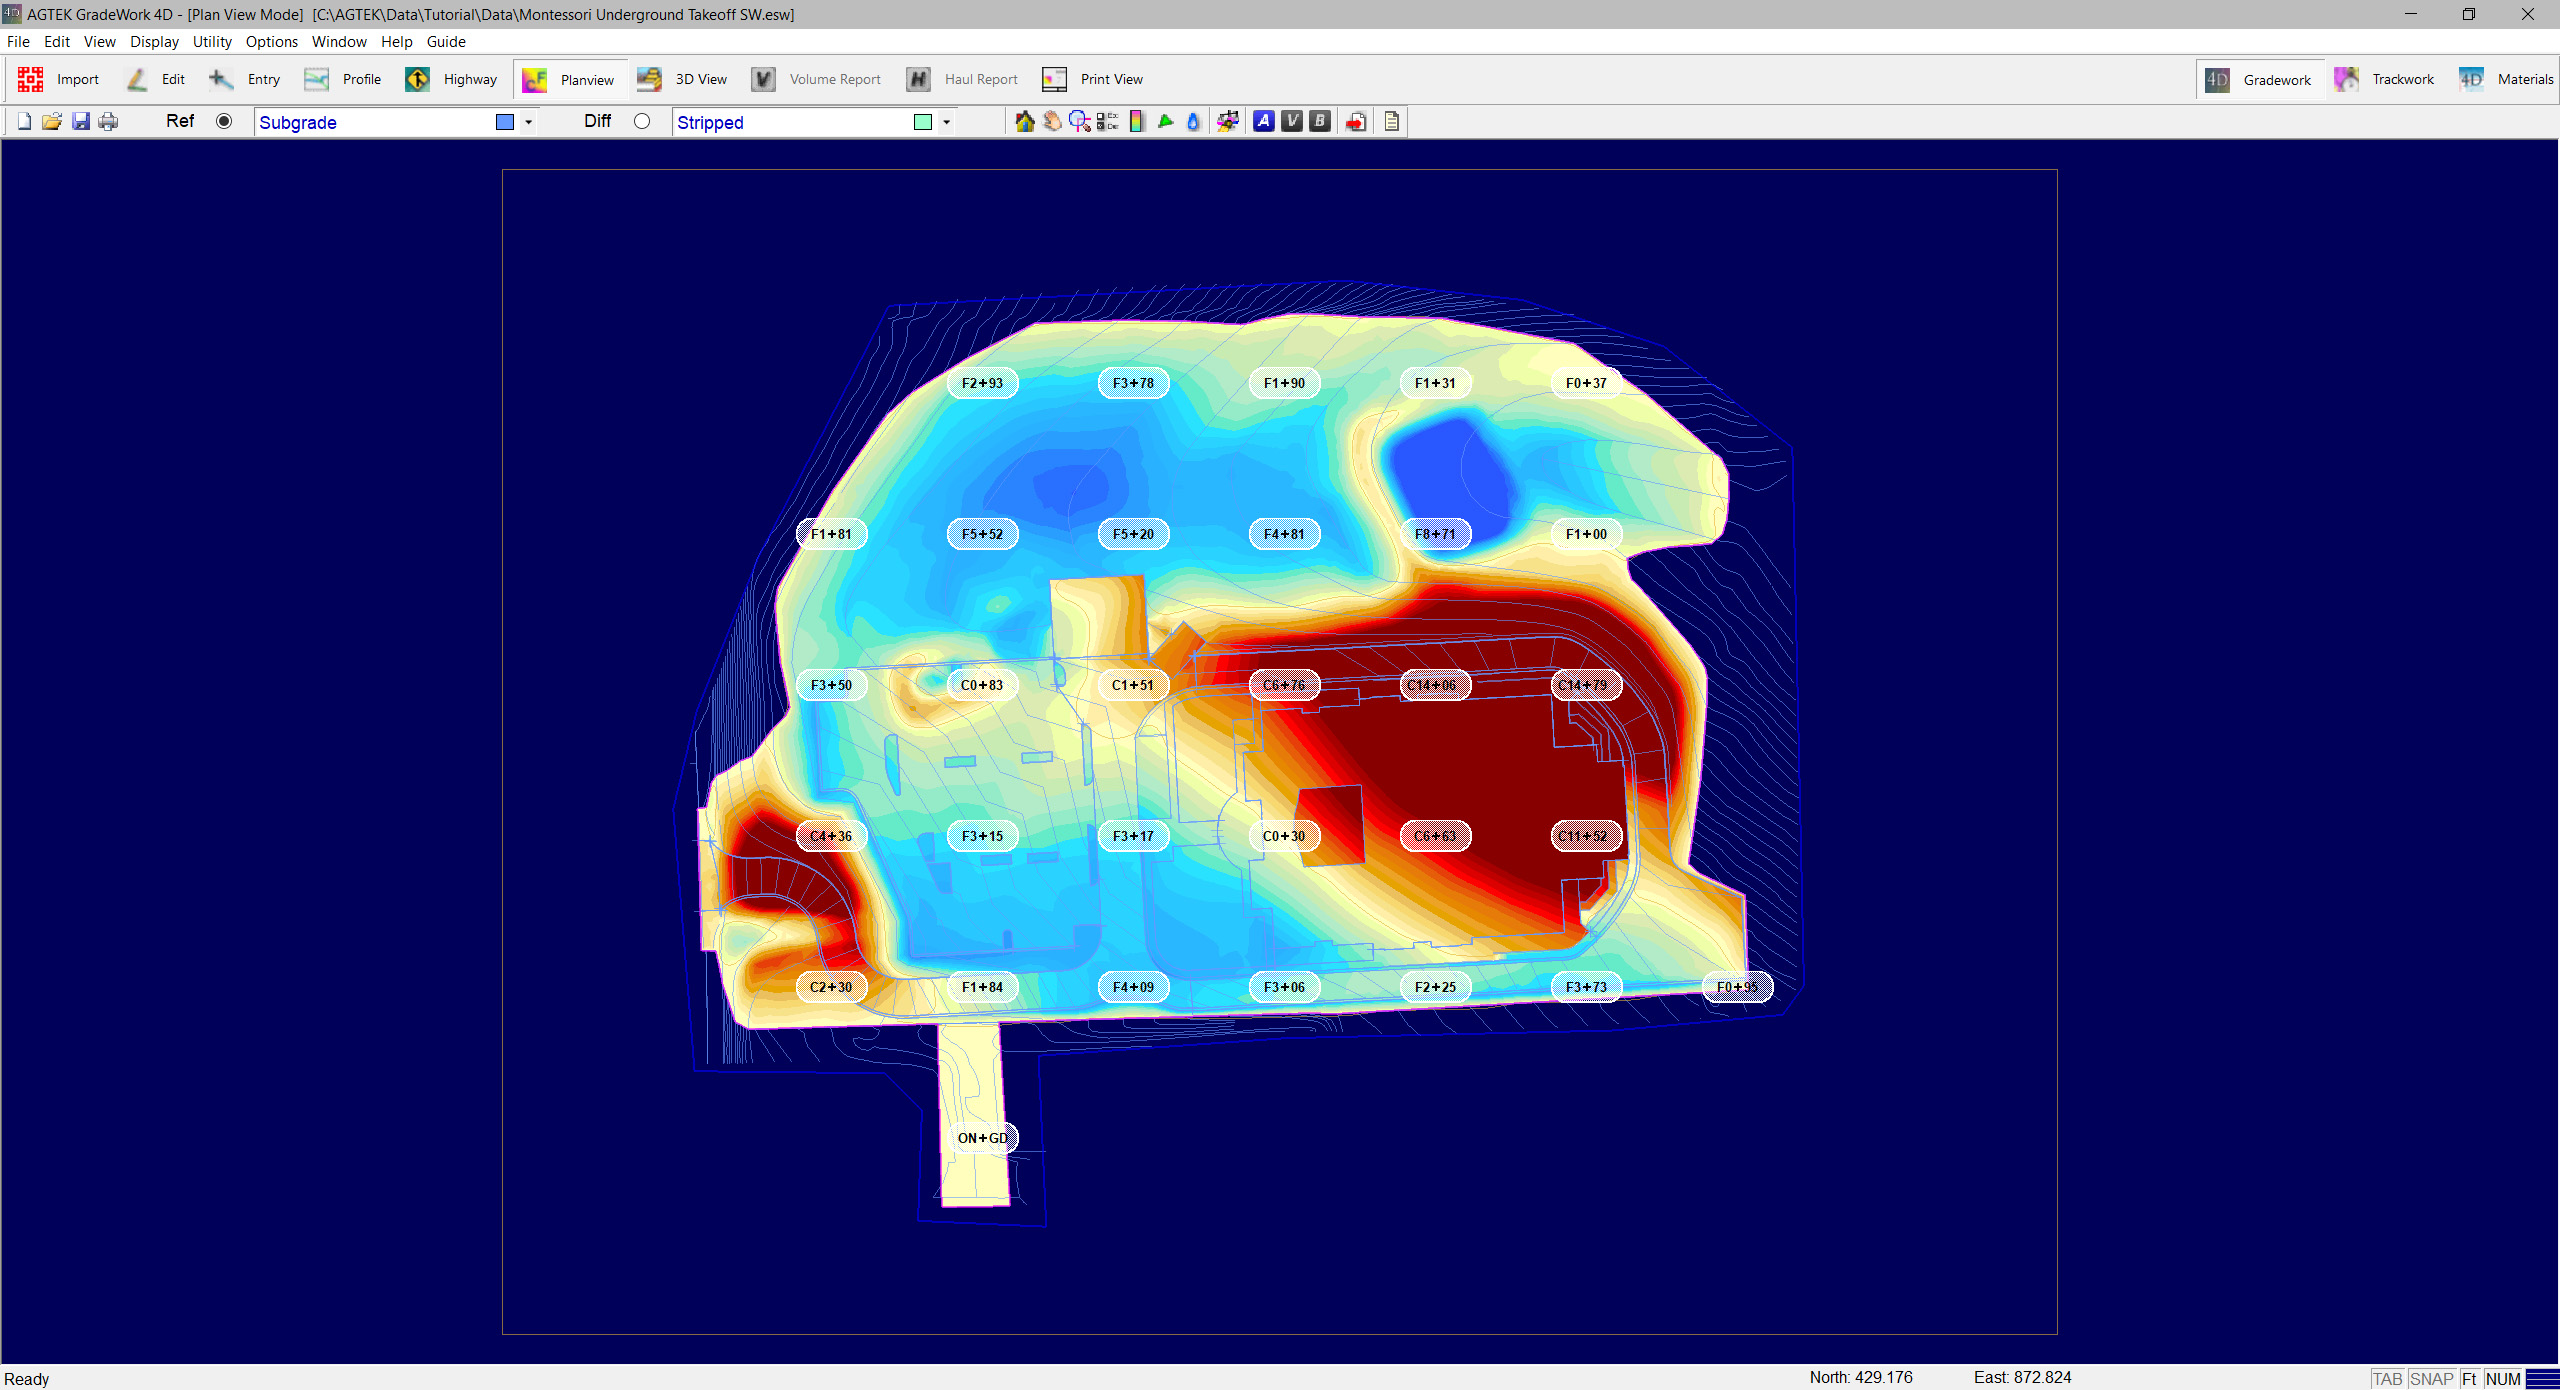
The Lowest Surface utility is used to create a surface that compares the reference and difference and produces a surface leaving the elevations of the lowest data lines between the two surfaces.
Video Links: Creating a Lowest Surface

1. Select the Reference and Difference surfaces comparing the two surfaces you want to use to create the lowest surface. In this example, we are comparing Subgrade to Stripped.
2. Select Utility > Lowest Surface. The Lowest Surface Guide will display.
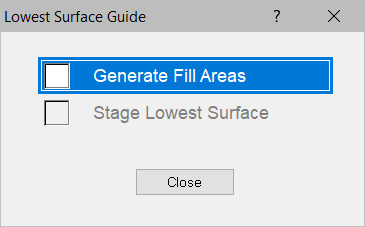
3. Check Generate Fill Areas. A message may display prompting you to close or remove the Cut/Fill Lines which are not closed. Click OK.
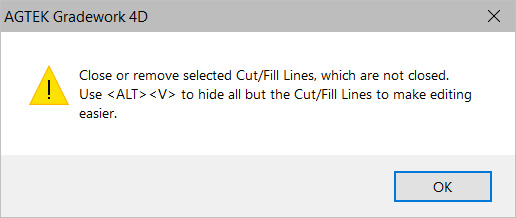
4. The program will return to Edit mode and all lines that are not closed will be selected.
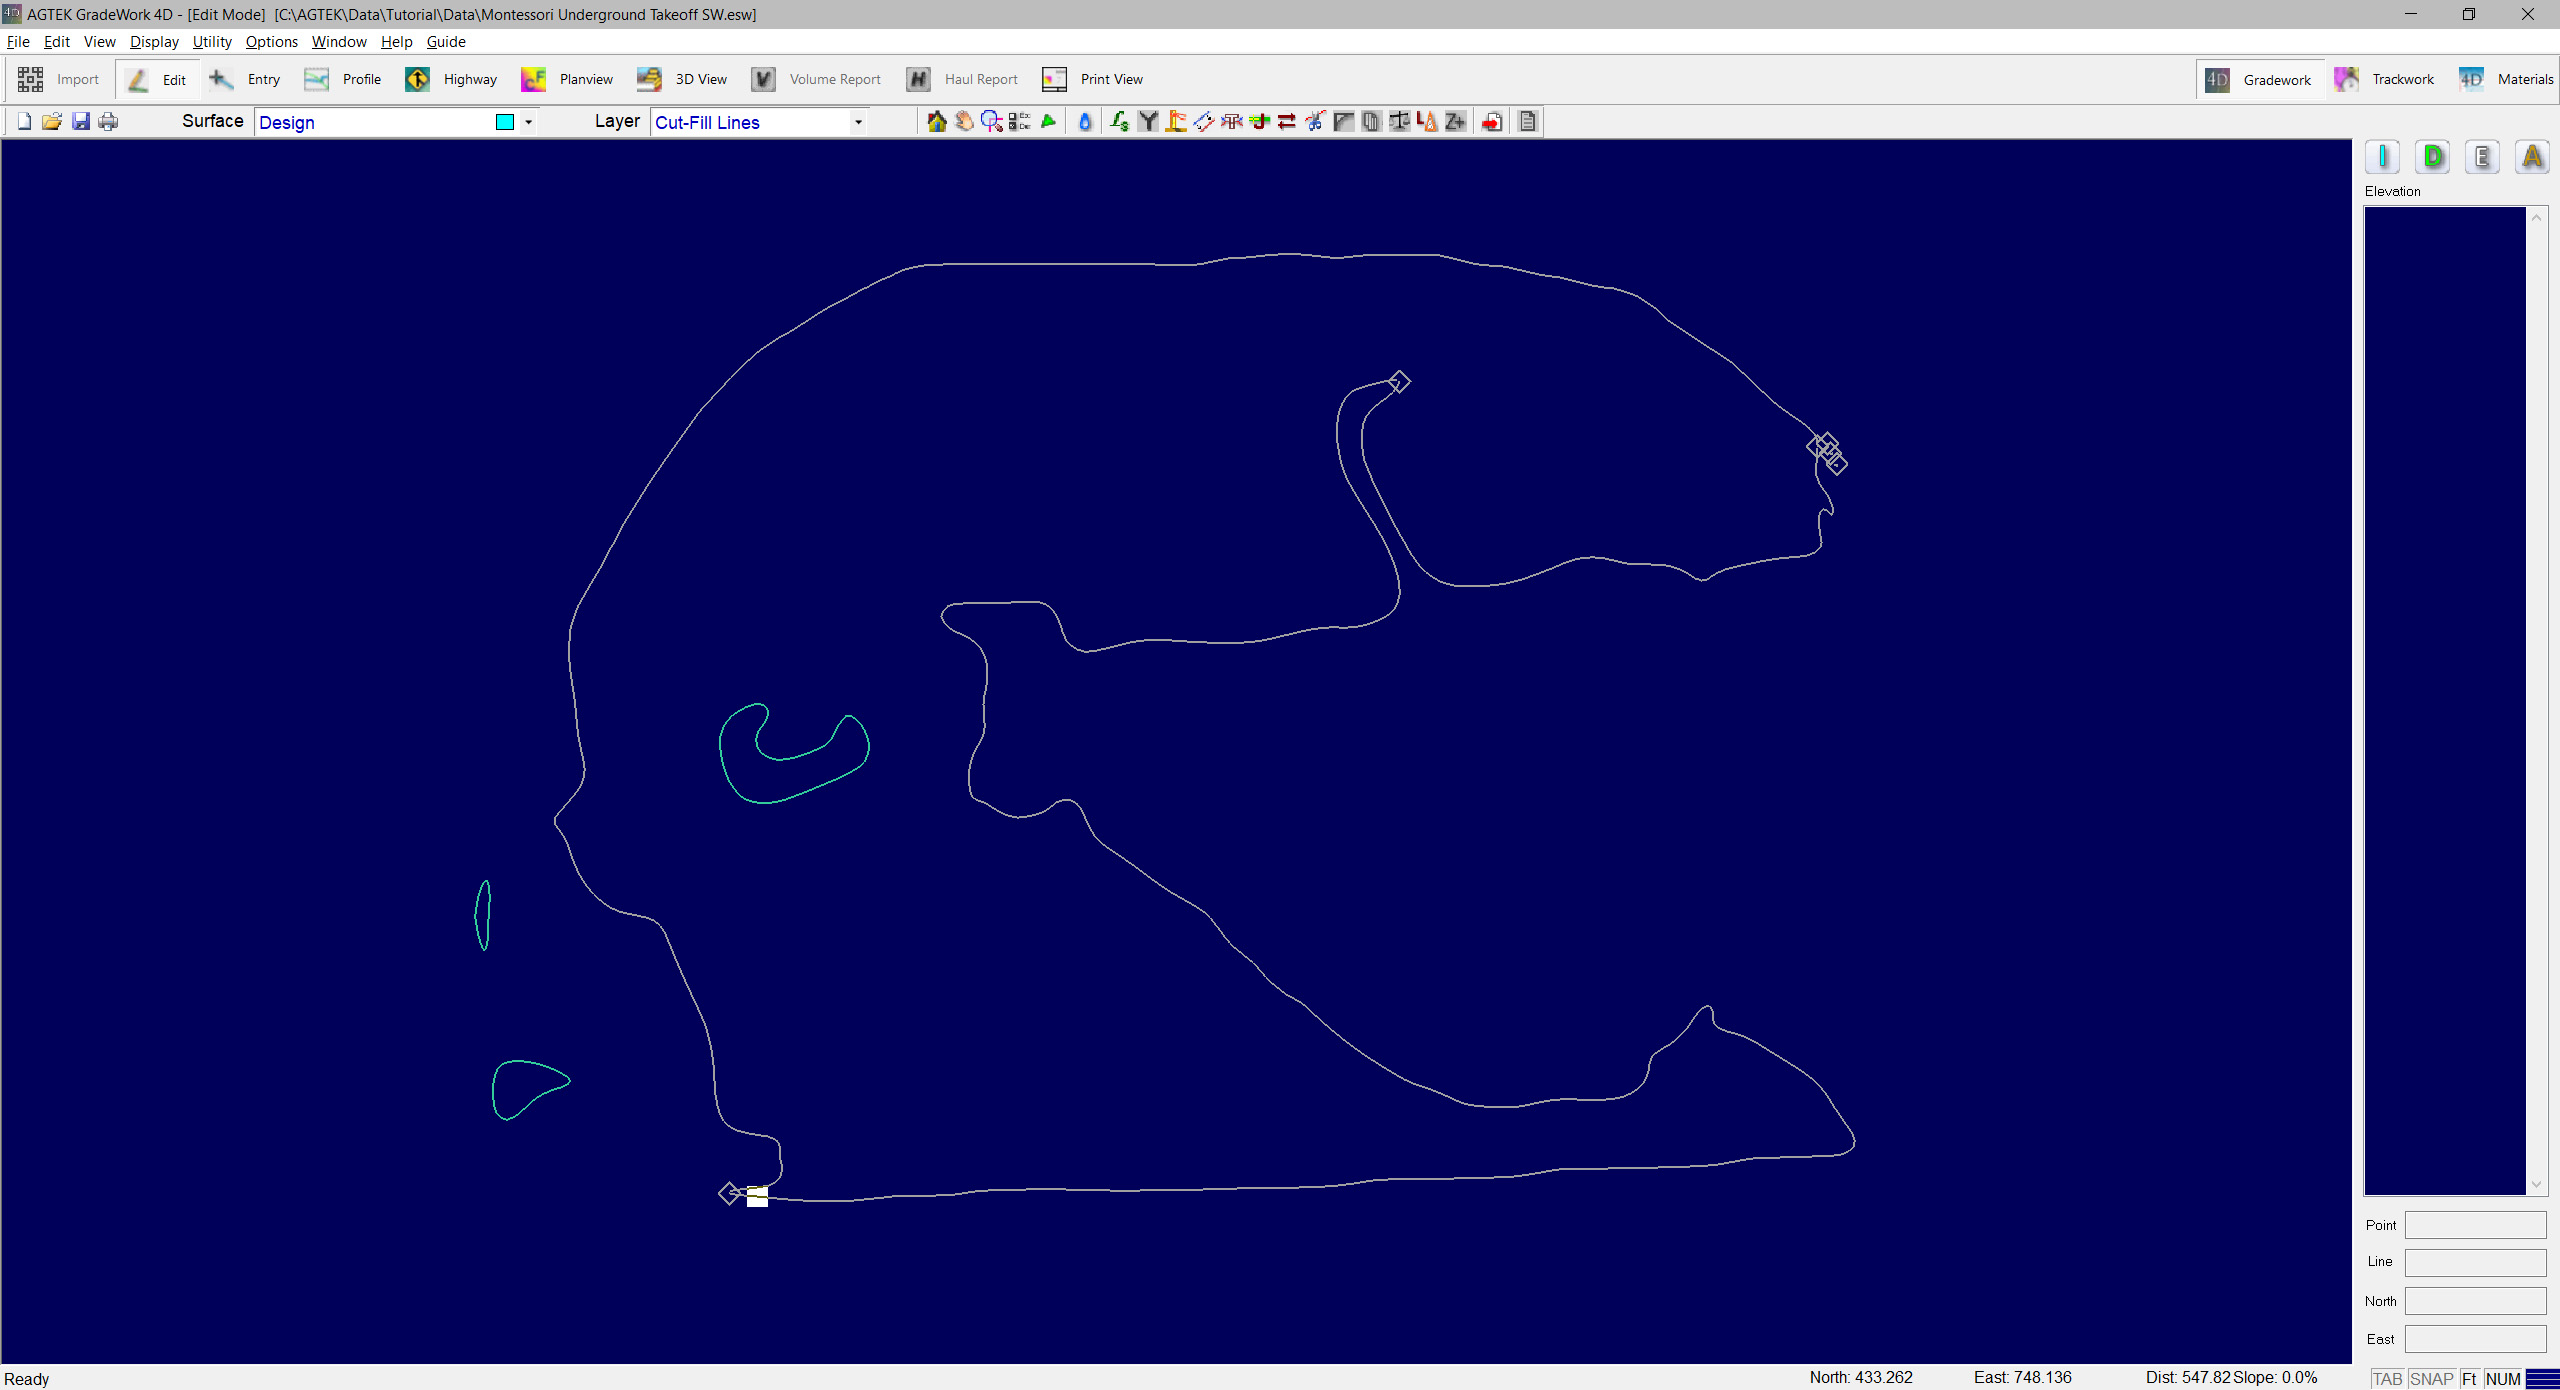
5. Close the gap between disconnected lines. In Entry mode, select Options > Automatic Join so the program will automatically join the entered lines.

6. Small fragments of lines may be deleted.
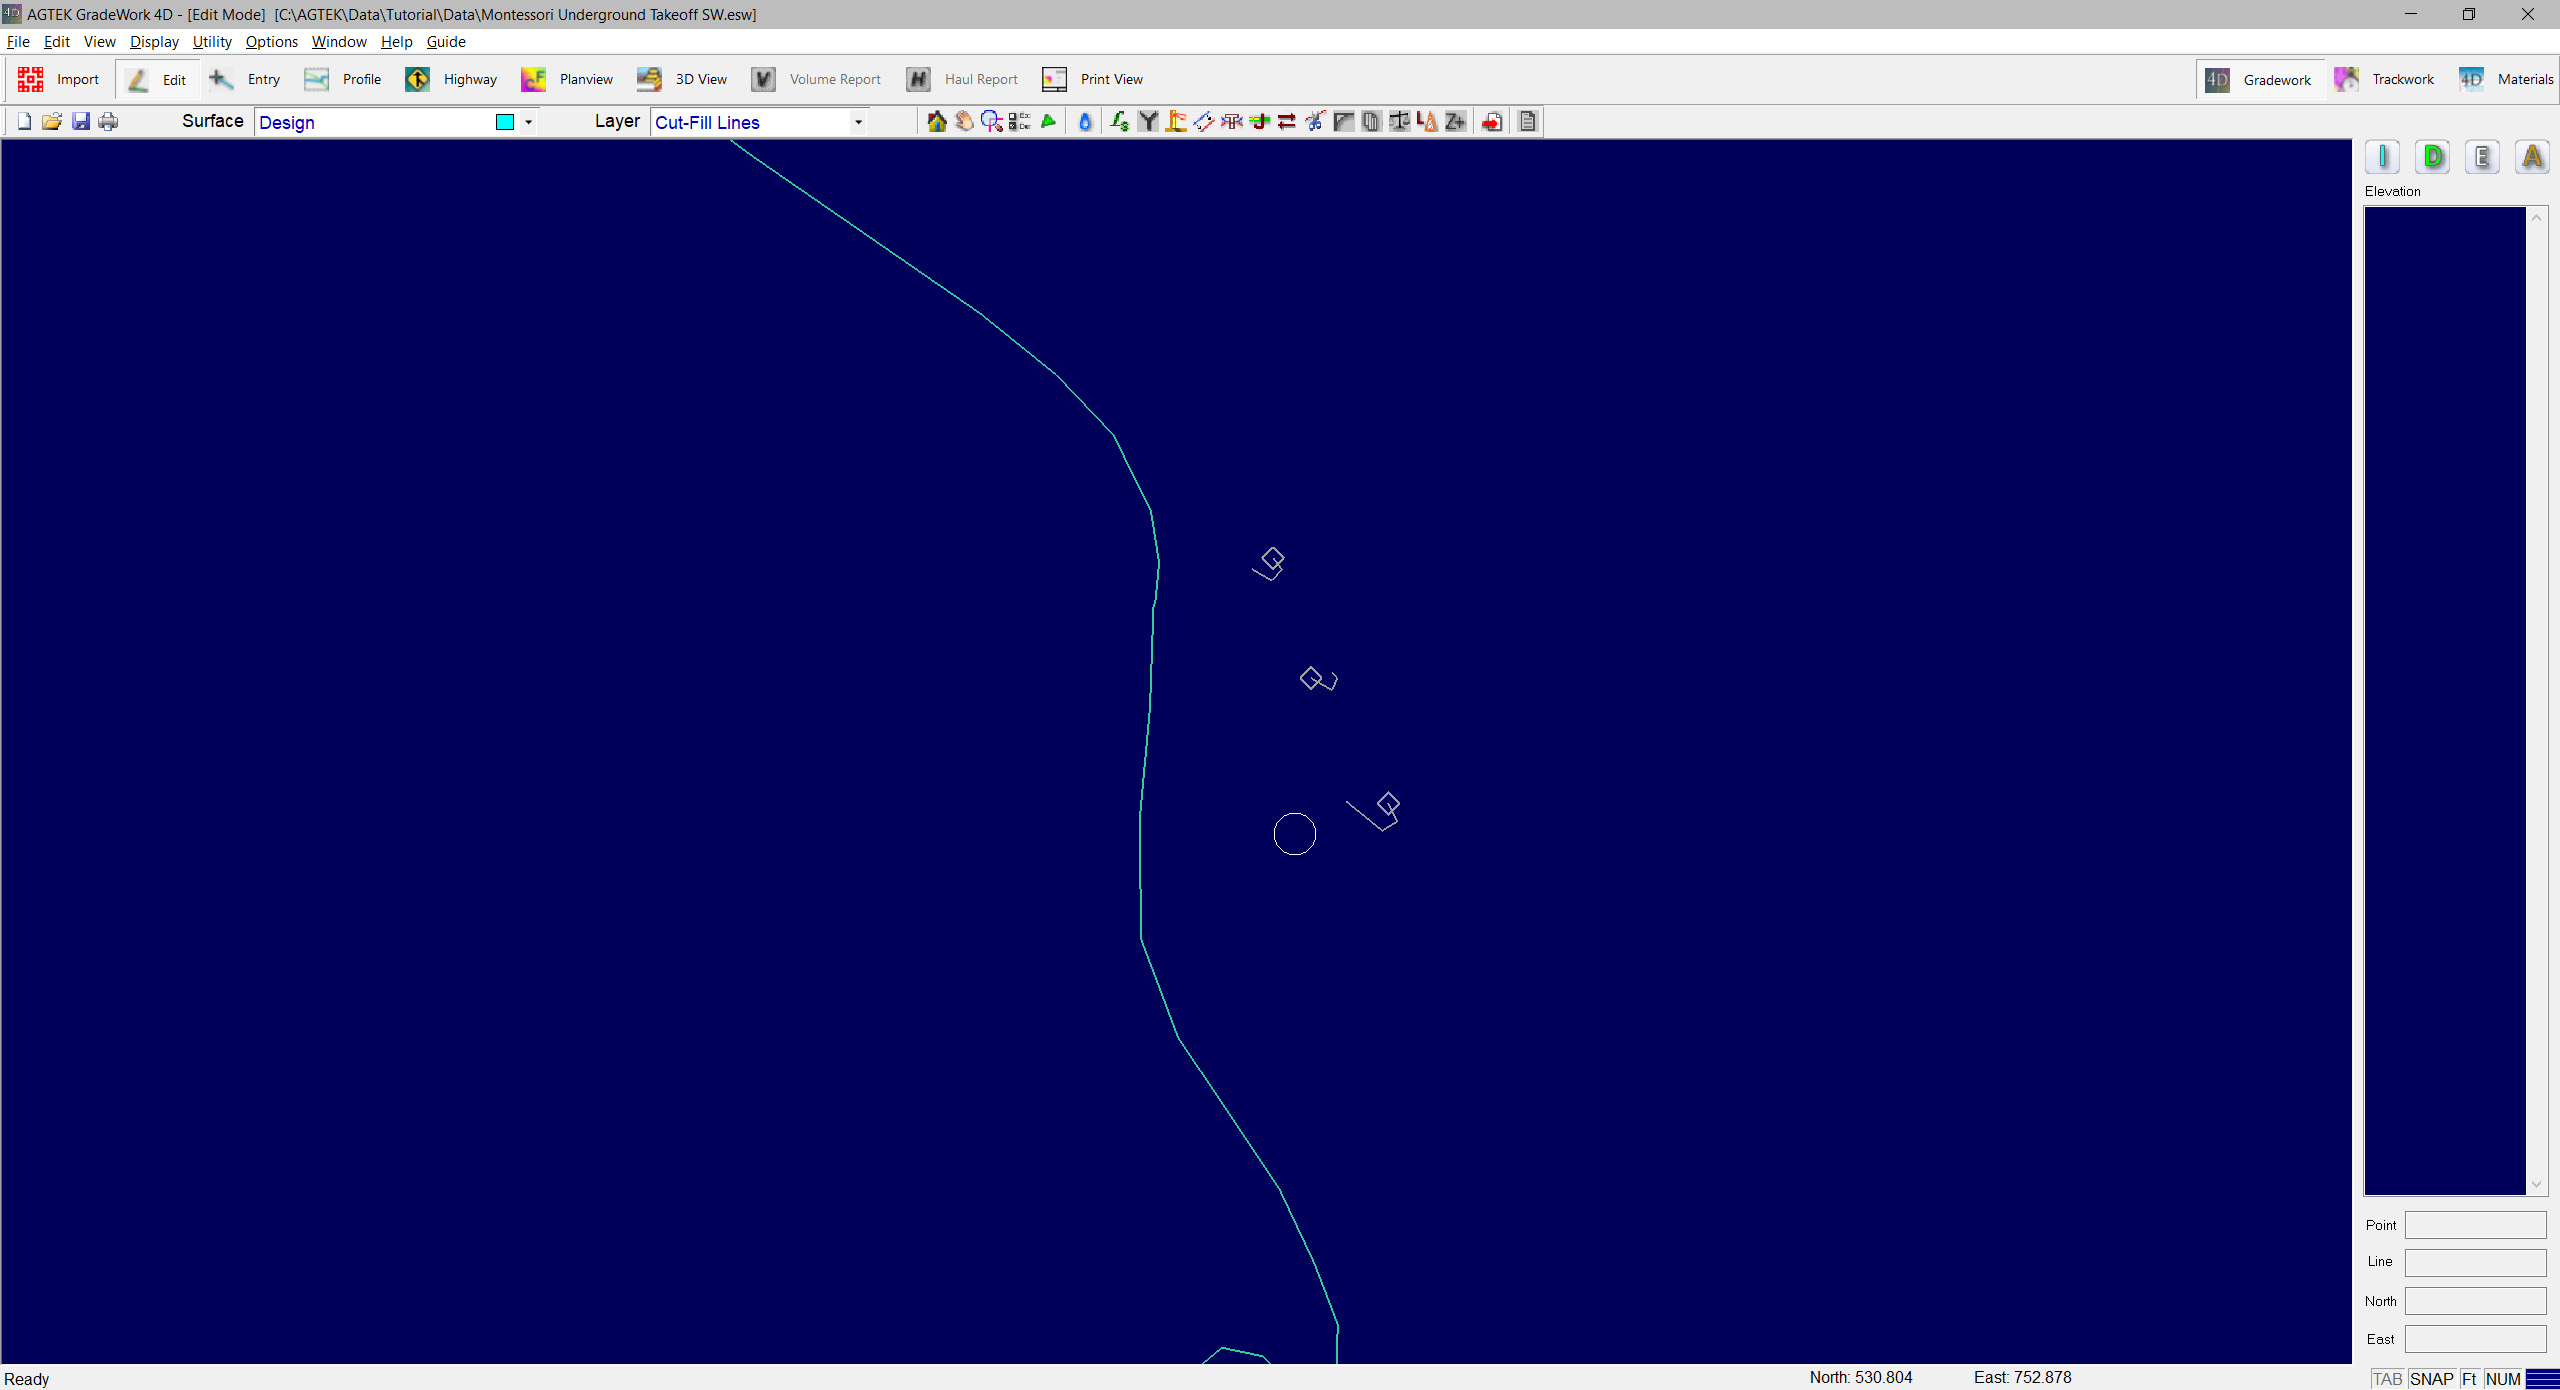
7. Return to Plan View mode. Select Utility > Lowest Surface. The Lowest Surface Guide will display.
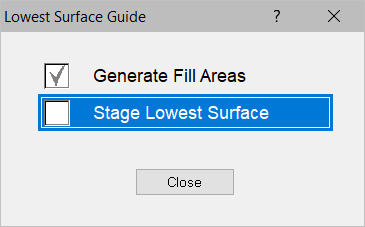
8. Check Stage Lowest Surface. The Lowest Surface will be created and the program will return to Edit mode. You will see the subgrade lines in the cut areas and stripped lines in the fill areas.
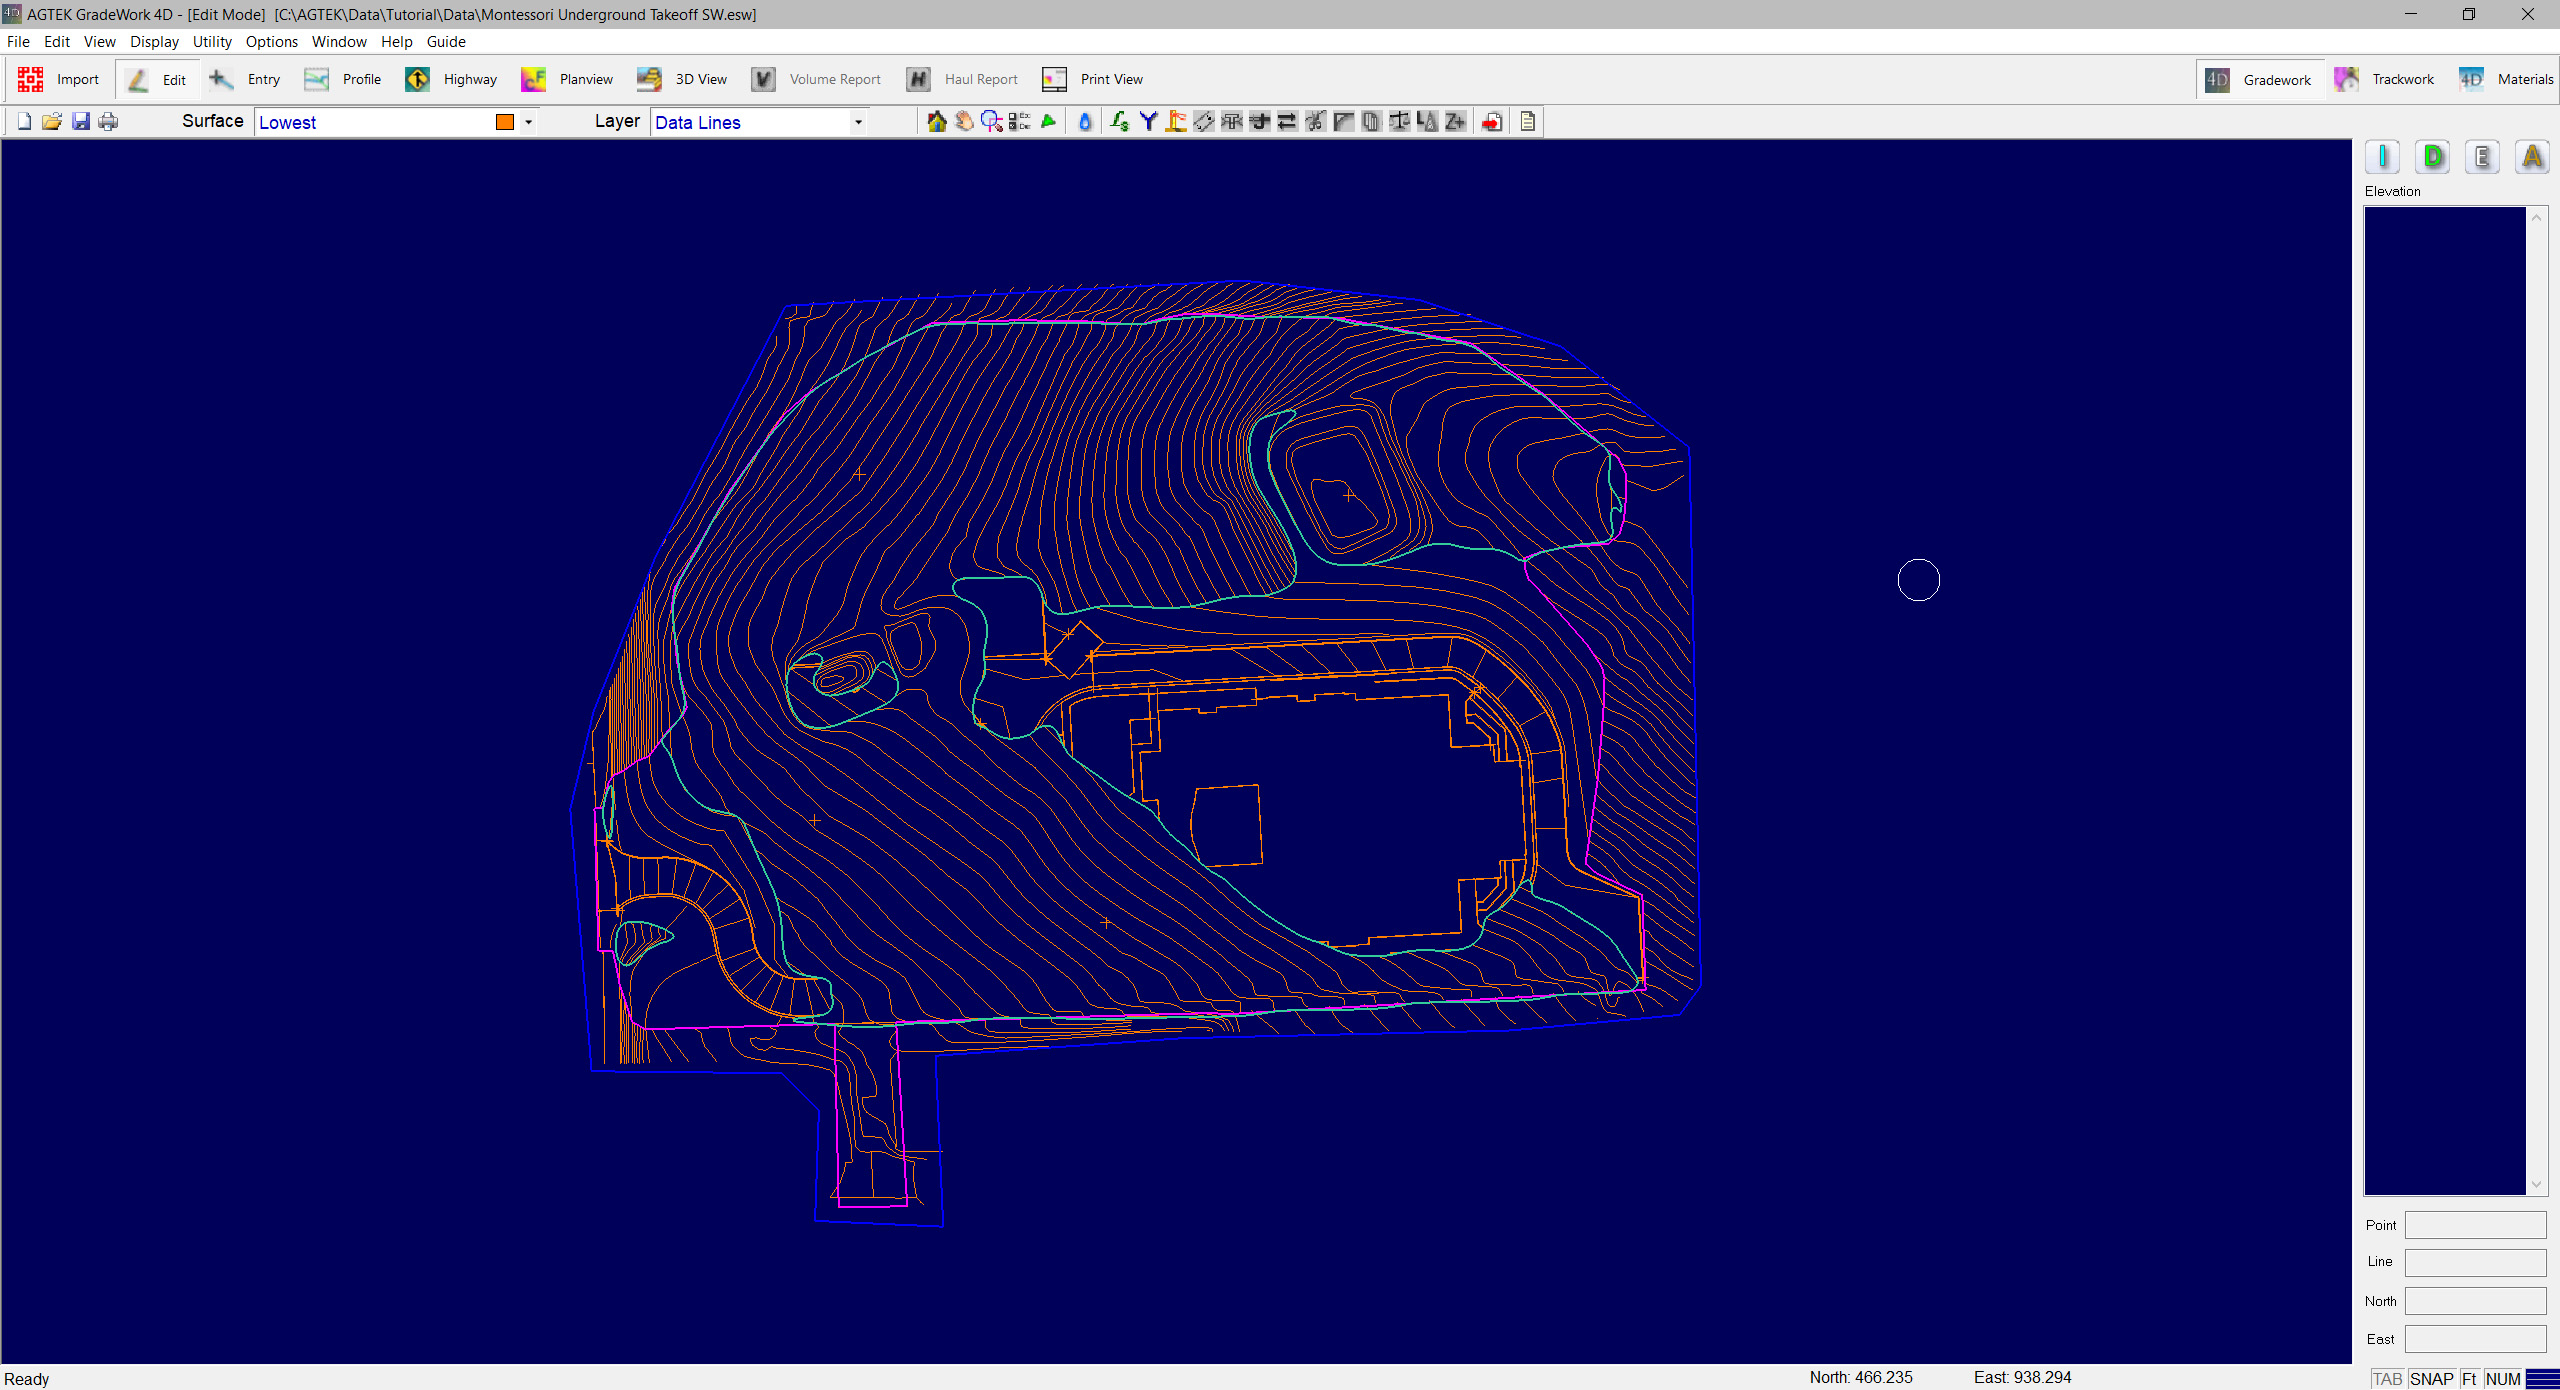
9. Go to Plan View mode and set the Reference to Lowest and the Difference to Stripped. You will see only the cut areas remain. The fills are on-grade.
