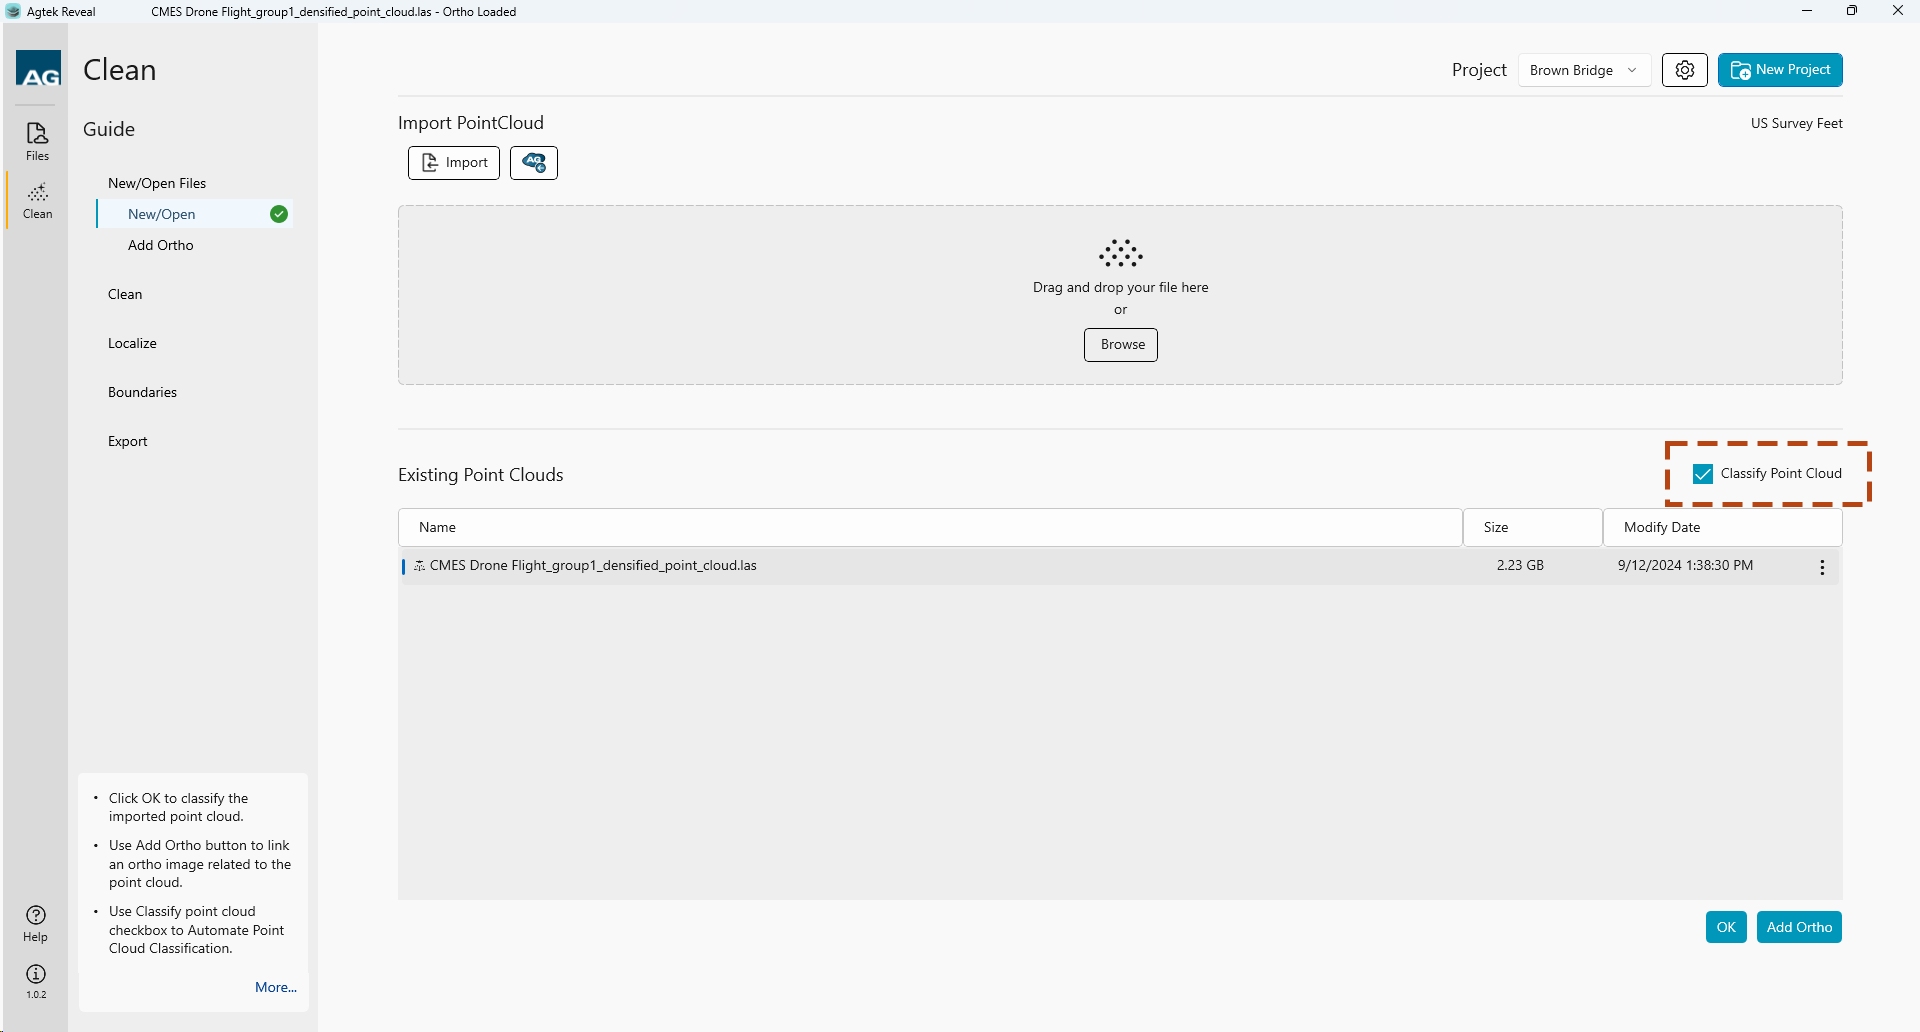
Data classification can be started in Reveal Clean a few ways. The first is to select the check box when importing new project data.

 The
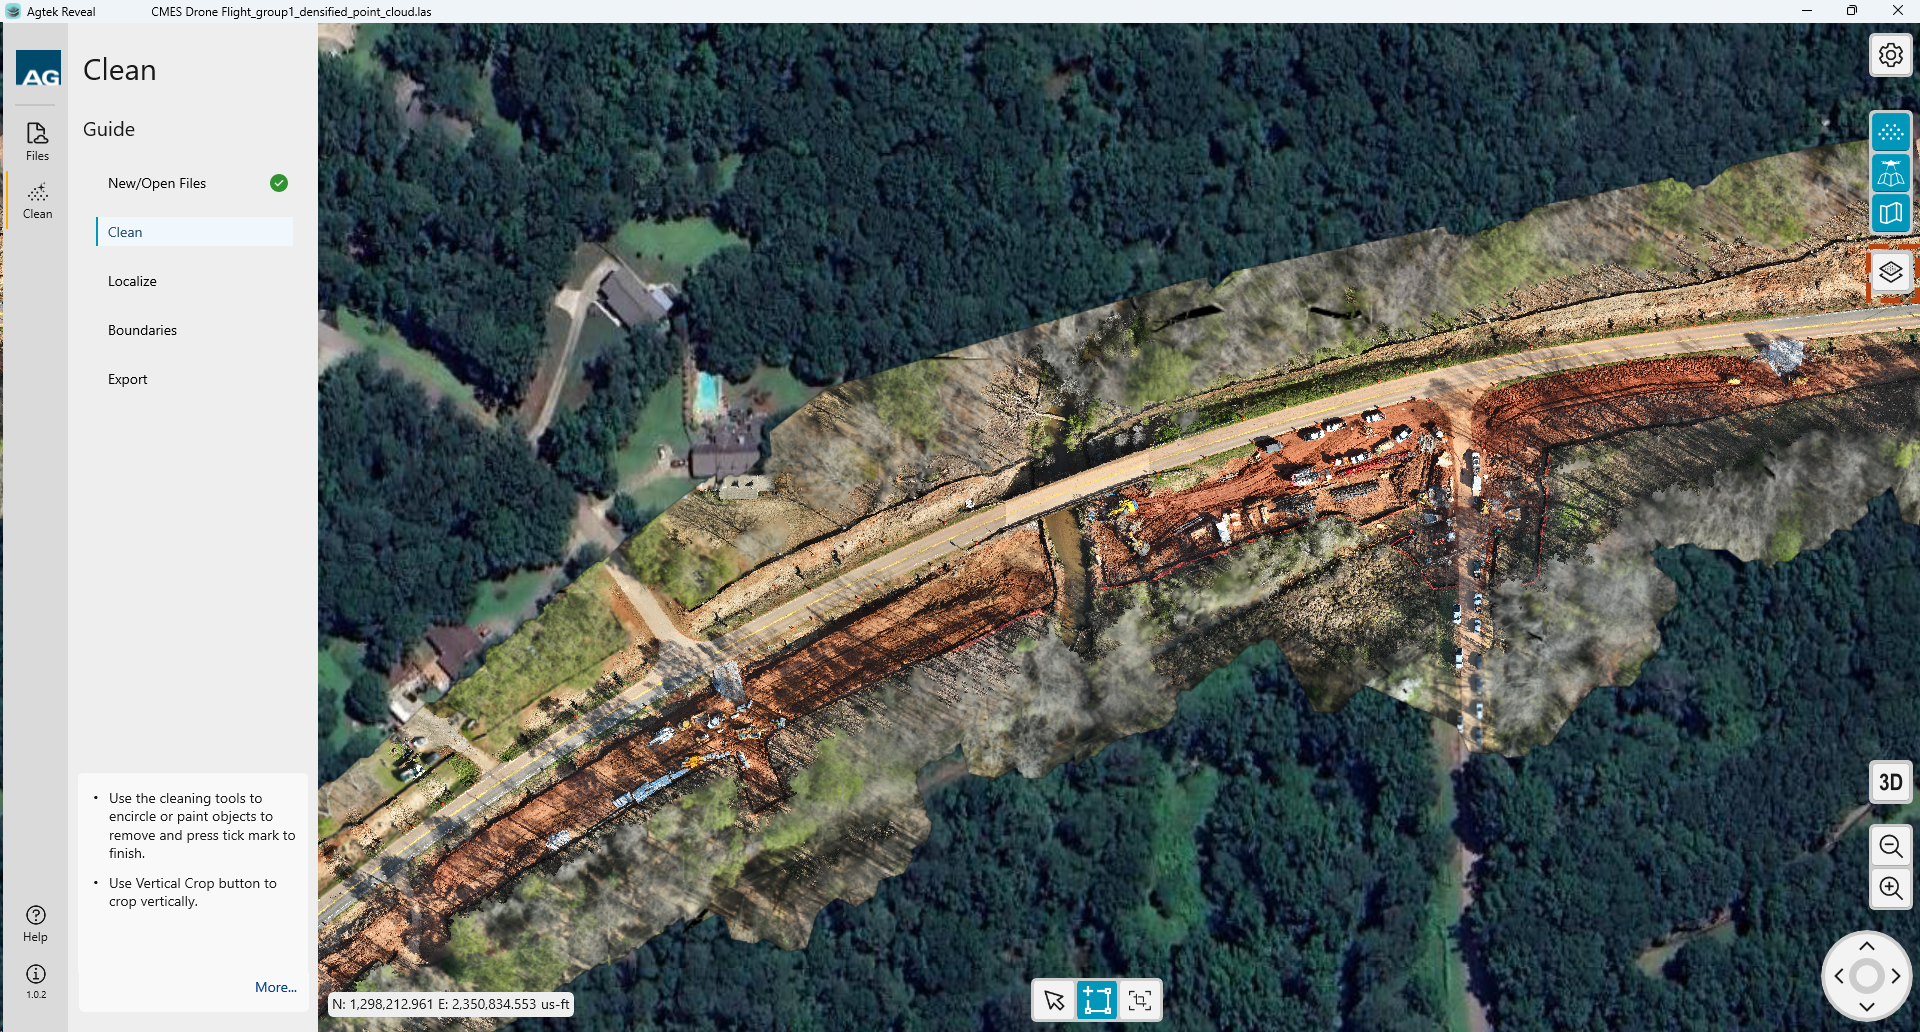
second way to start data classification is to select the Classification
icon.
Selecting the icon will open the Classification options.
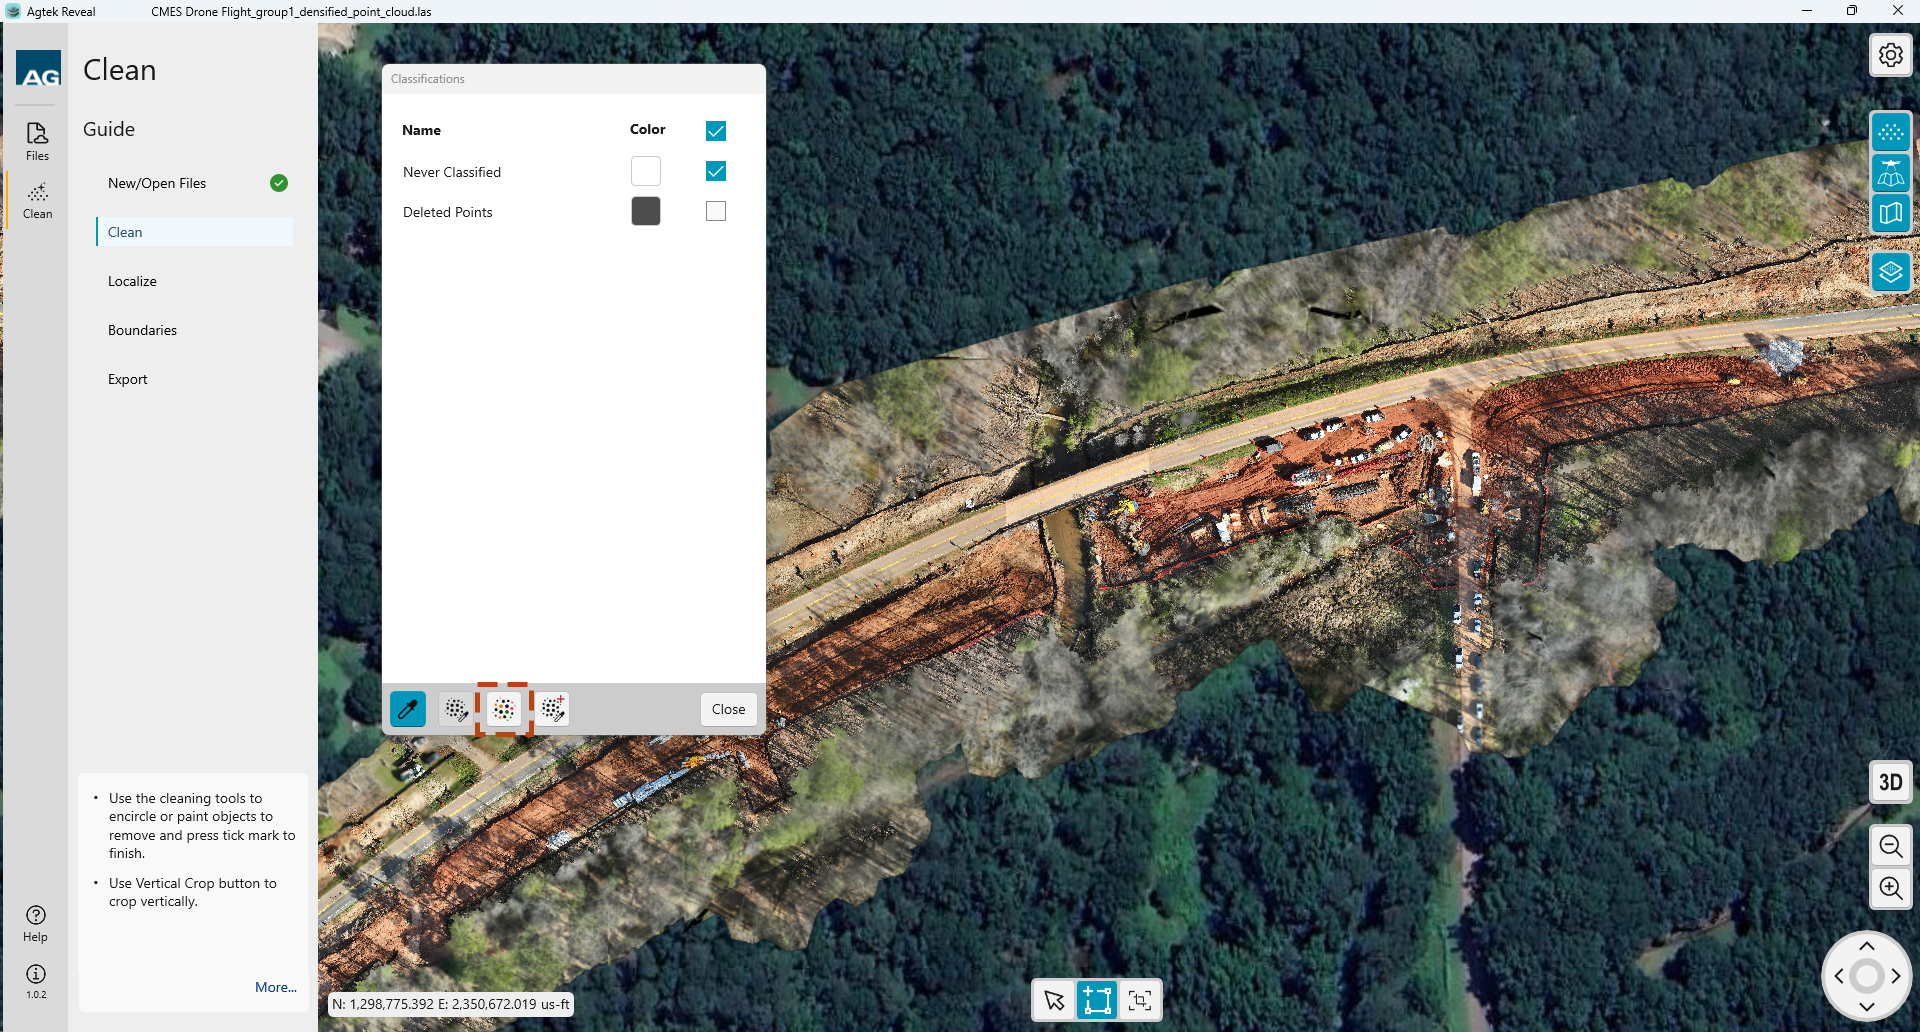
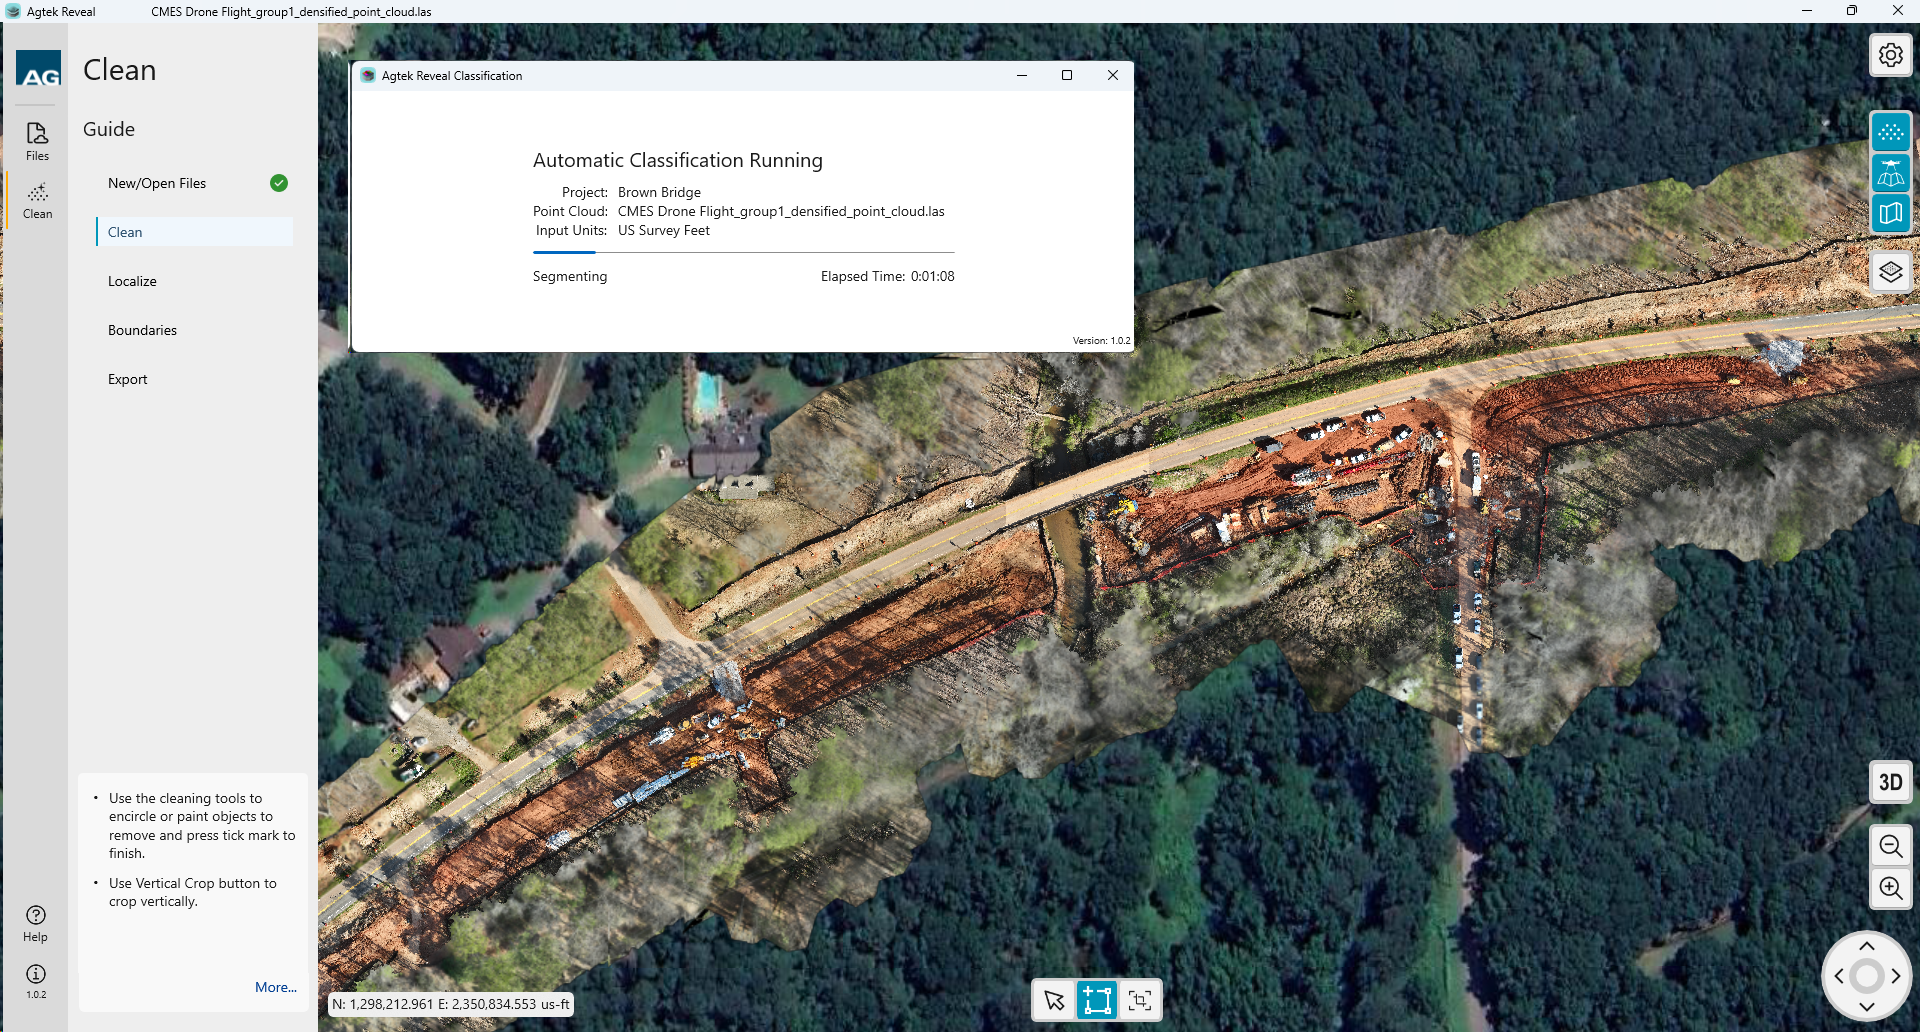
To run
the Classification engine on your data, select the Launch Auto Classification
![]() button
at the bottom of Classification window..
button
at the bottom of Classification window..
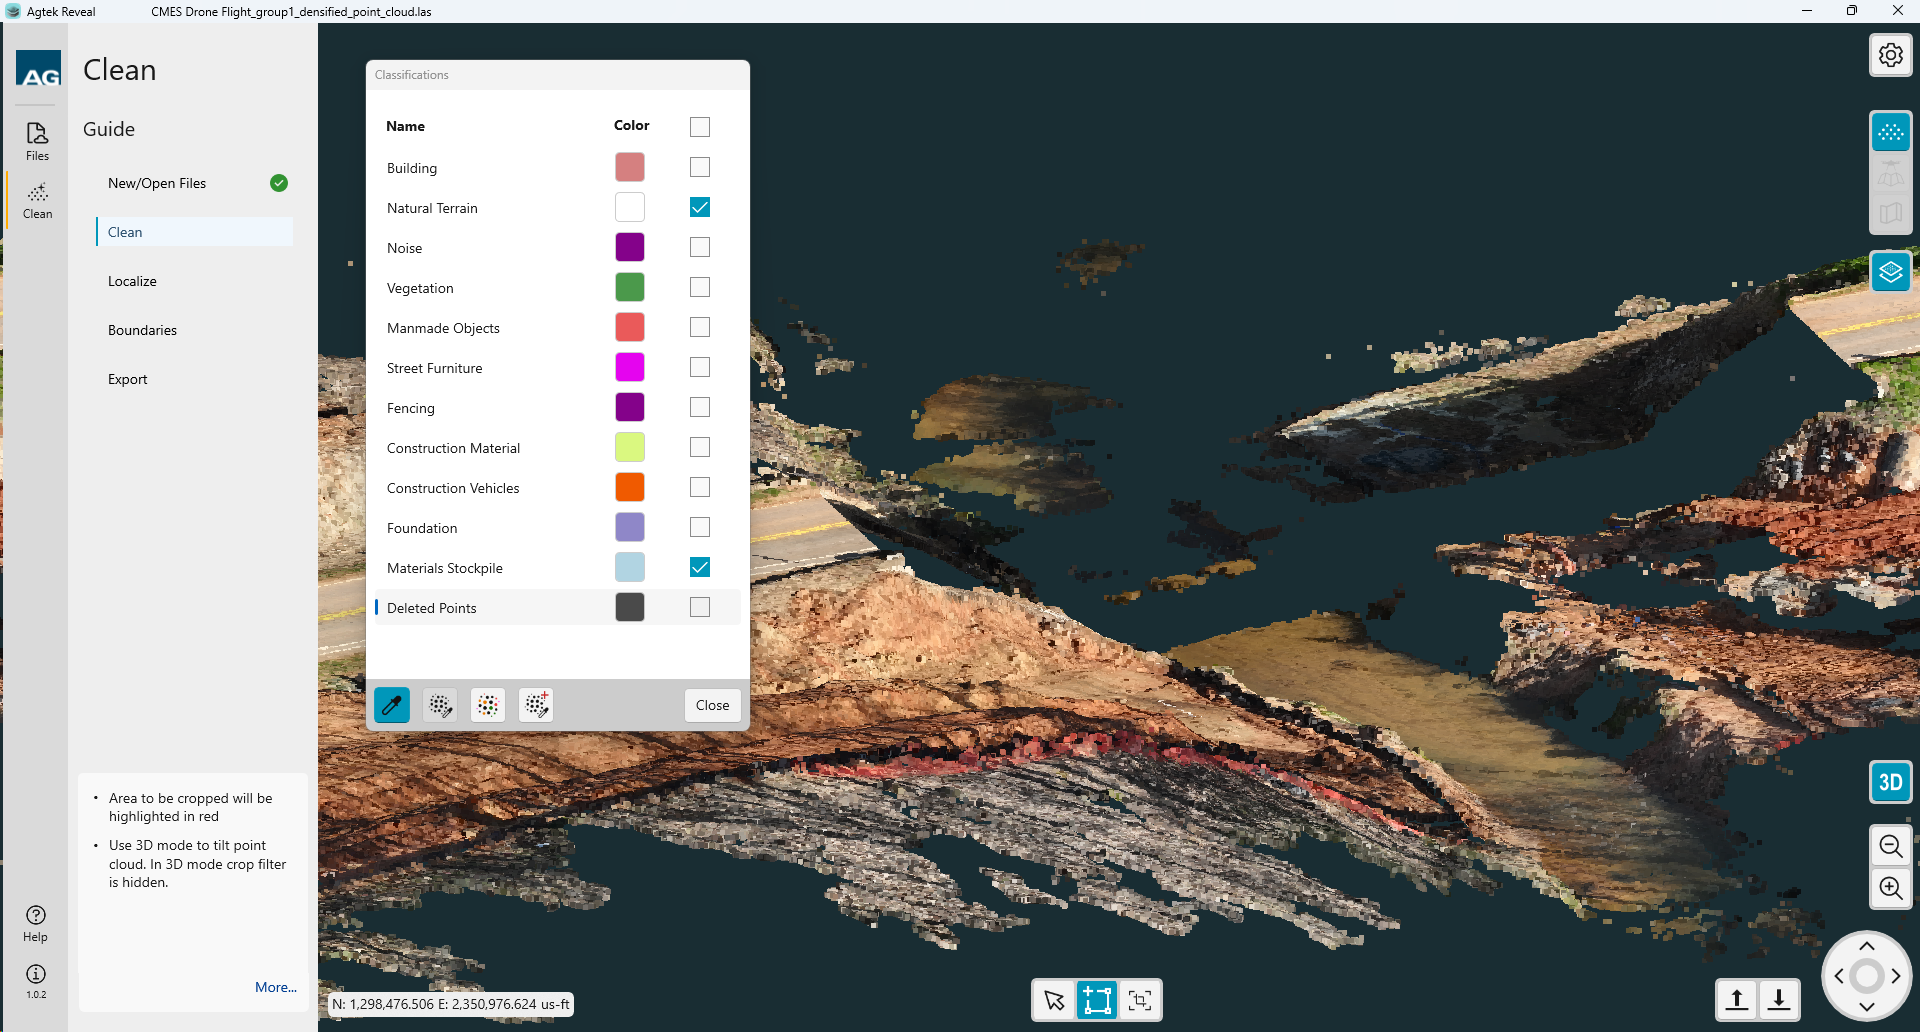
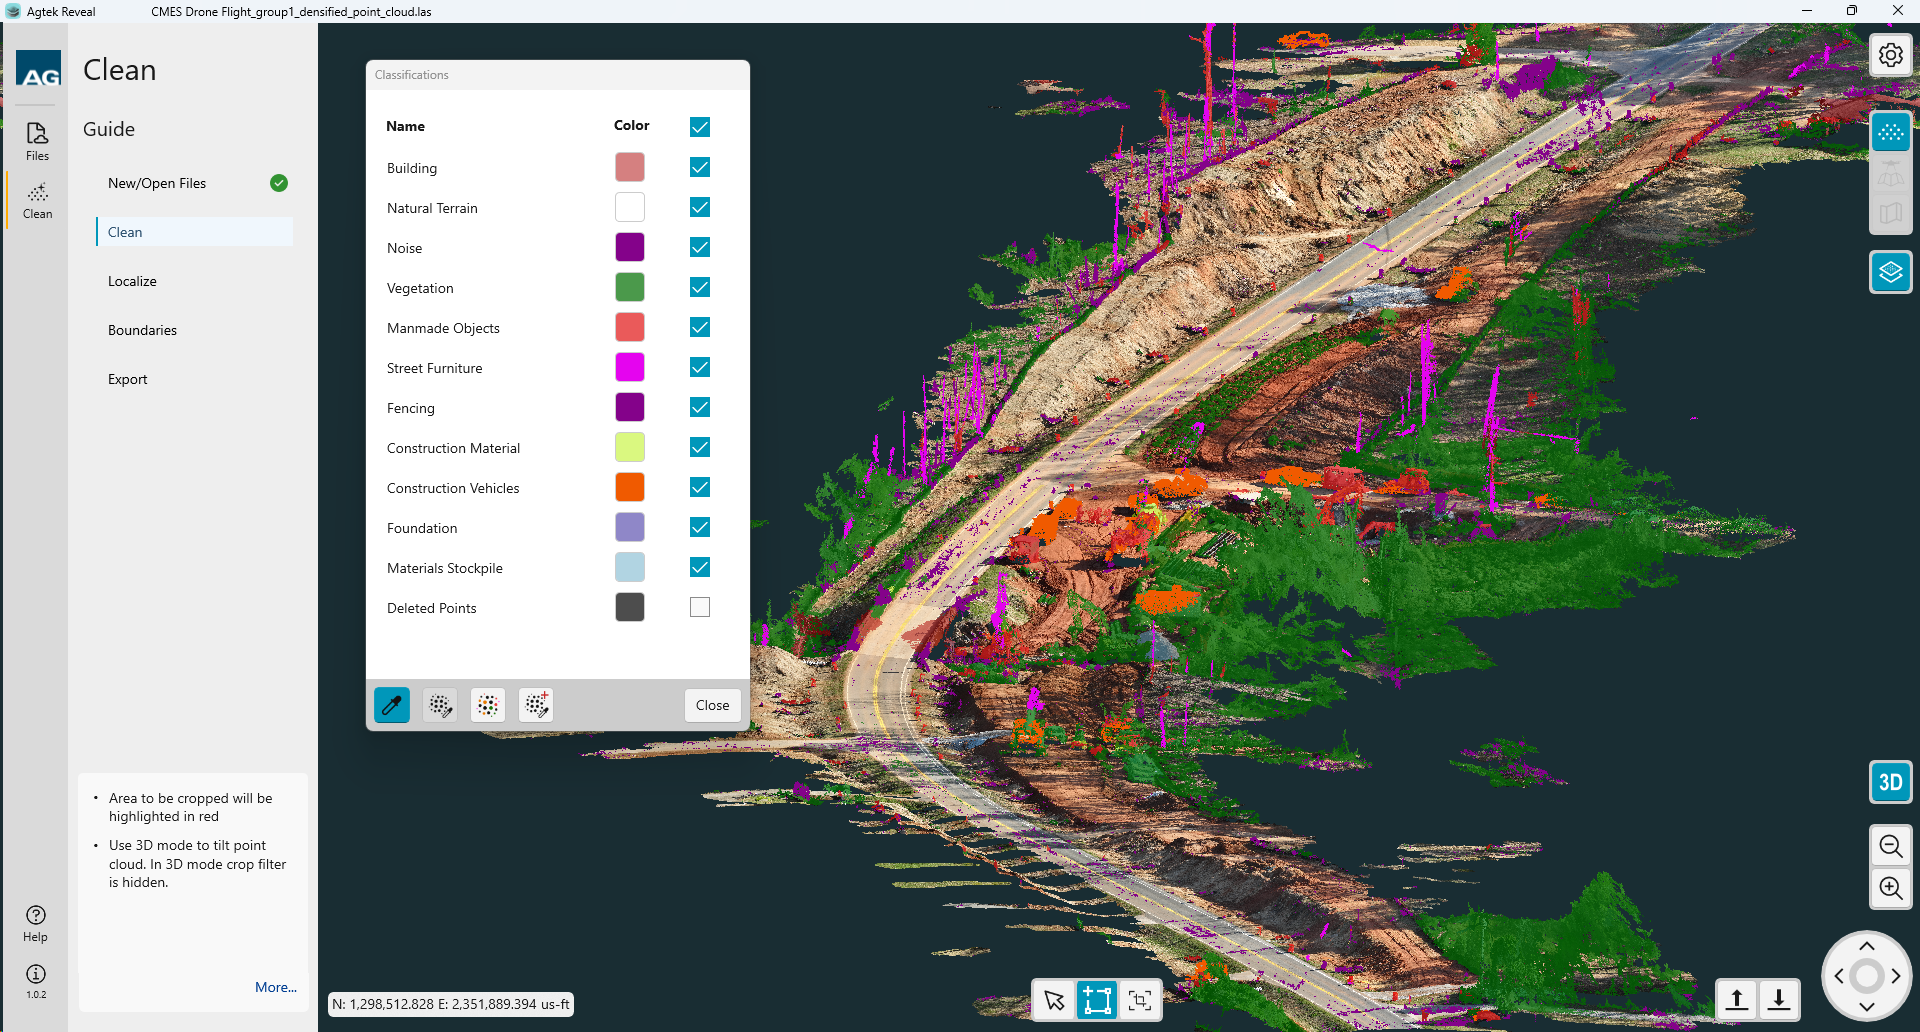
Once classification is complete the menu will show all classes found in your point cloud.
Note:
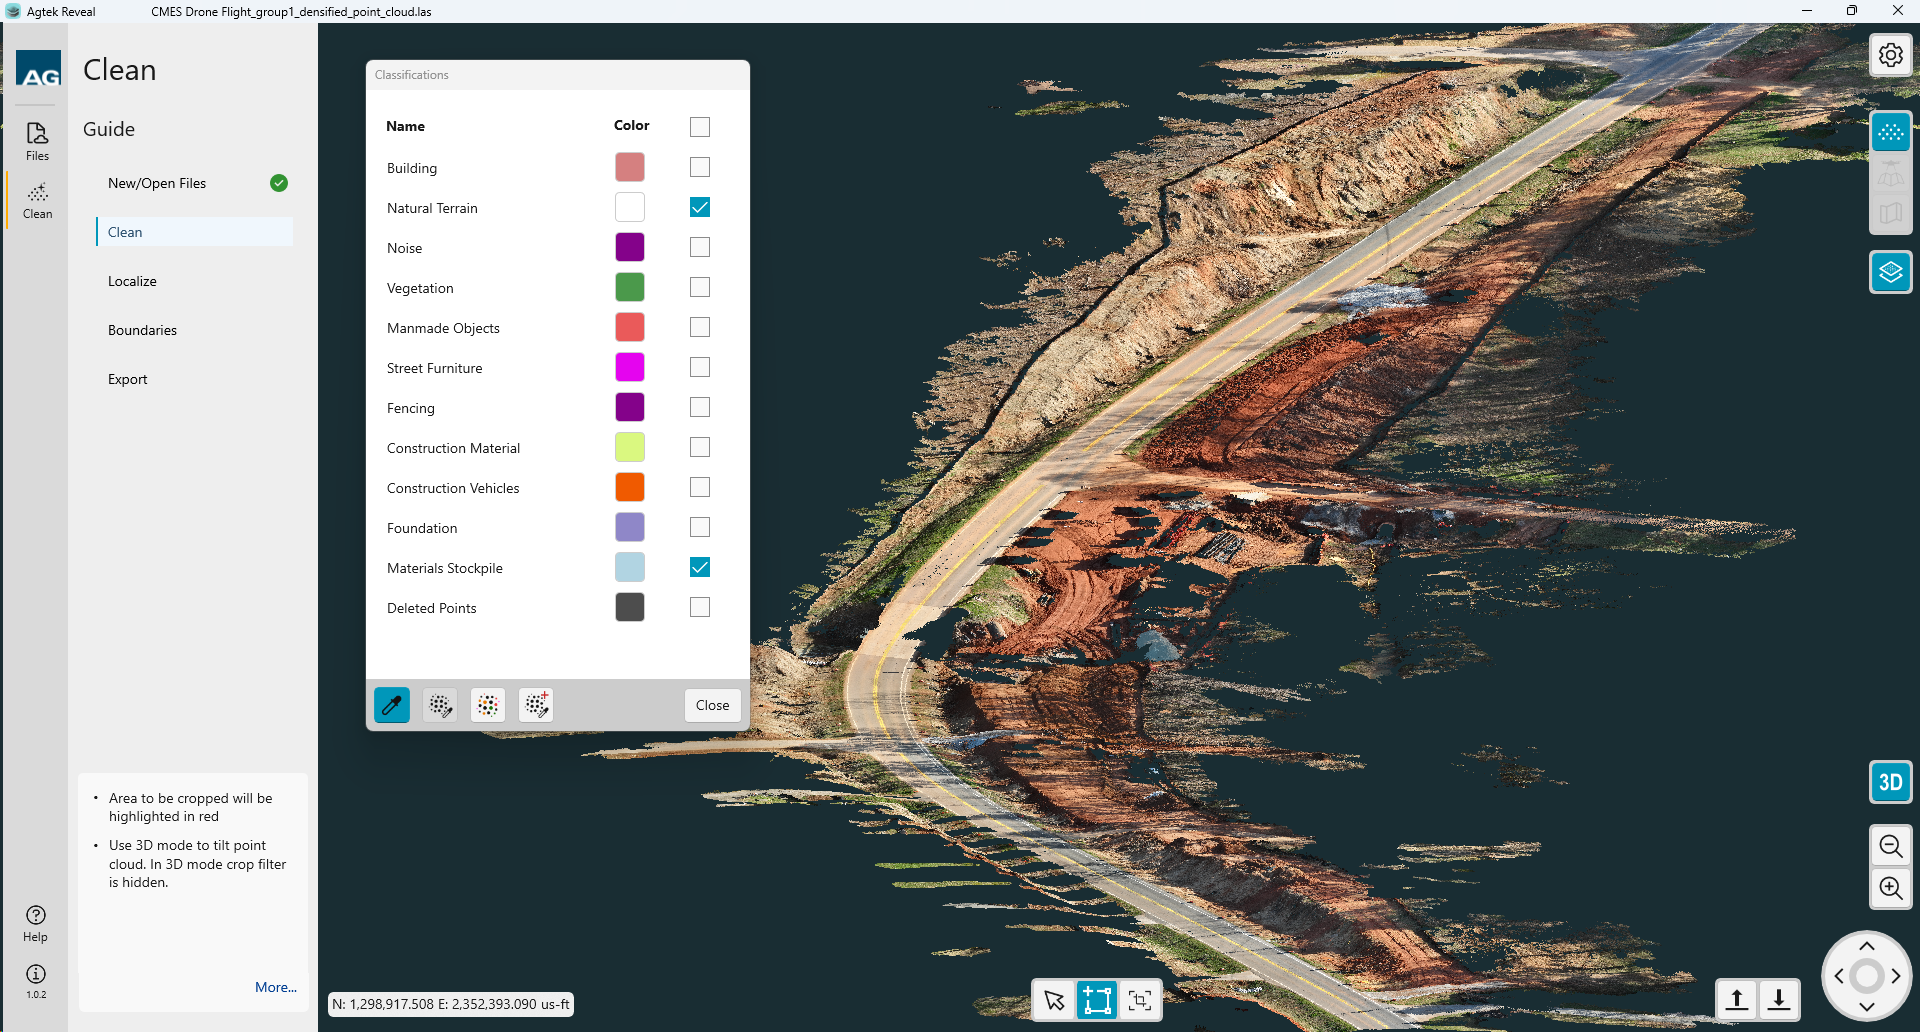
Uncheck the classified layers to remove from view. Check the box at the top to turn off all layers. Check the box for the desired layers.
The Reclassify icon ![]() reclassifies
the select area.
reclassifies
the select area.
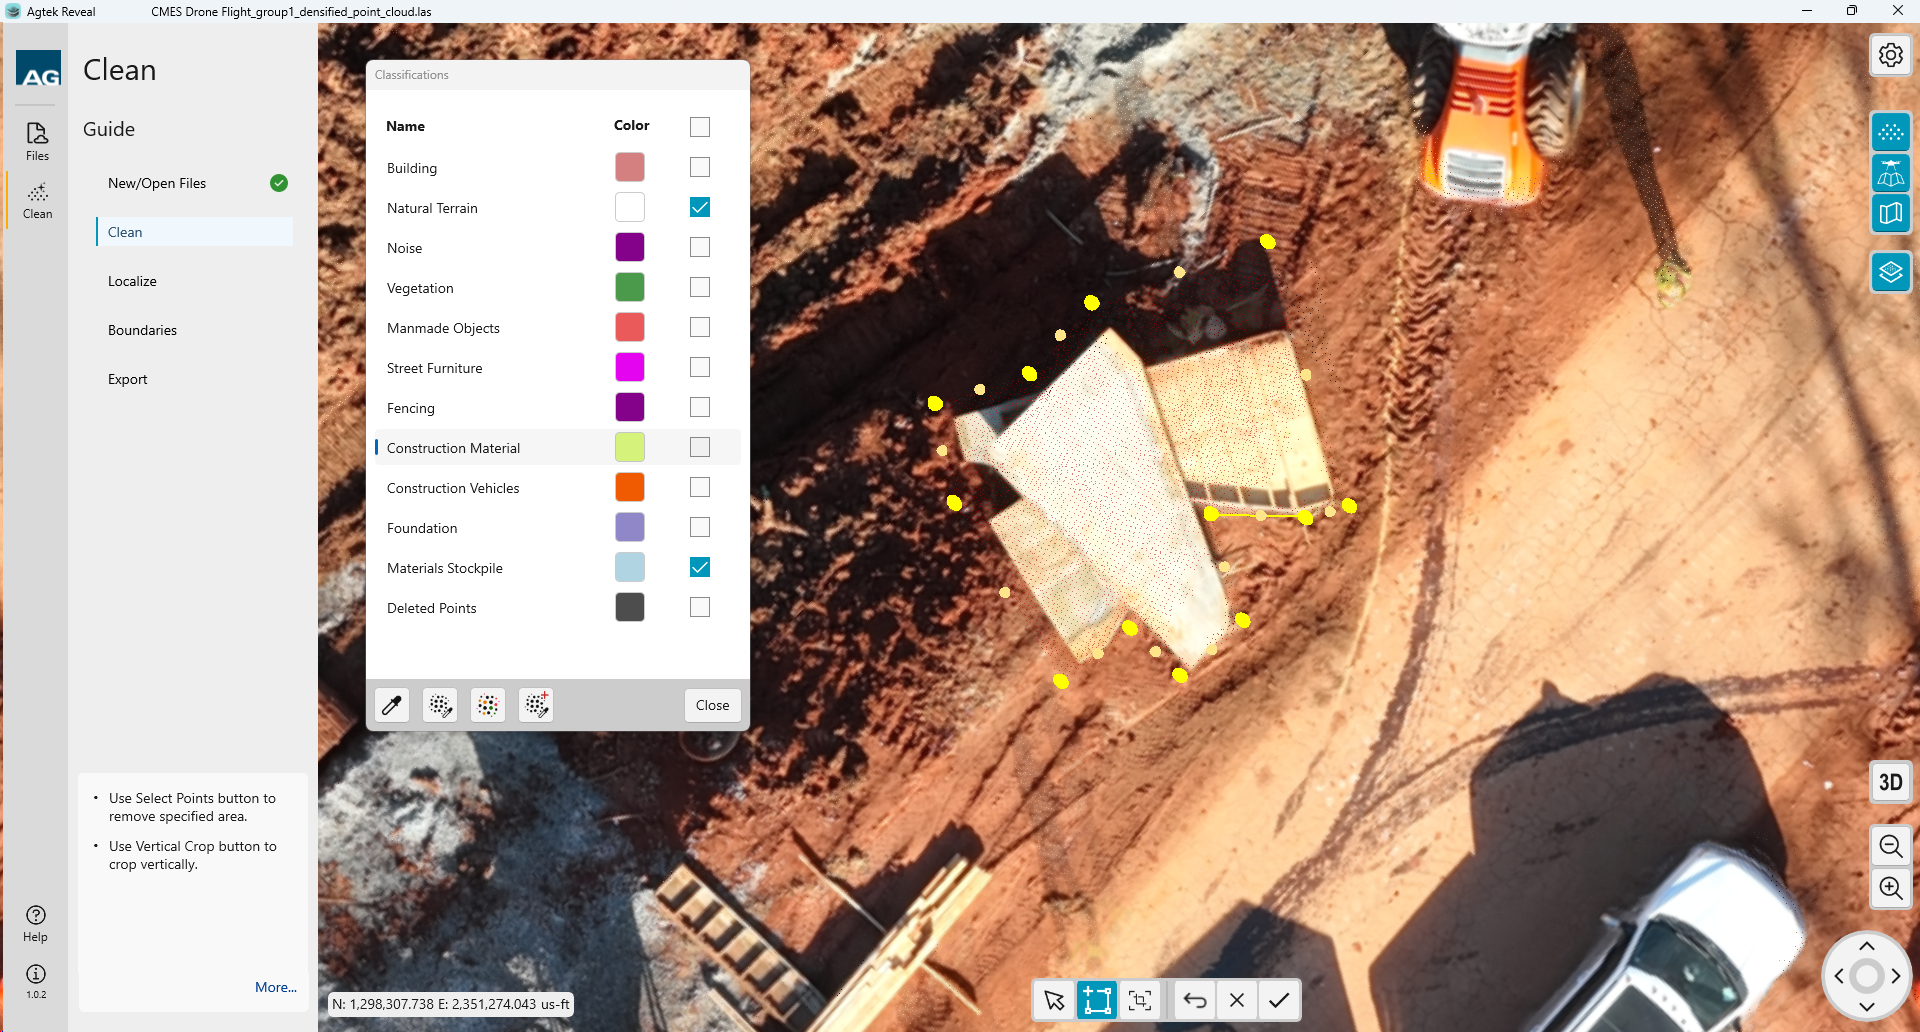
All possible point classification are listed as options for reclassification.
Select the points you would like to reclassify by creating a boundary around them.
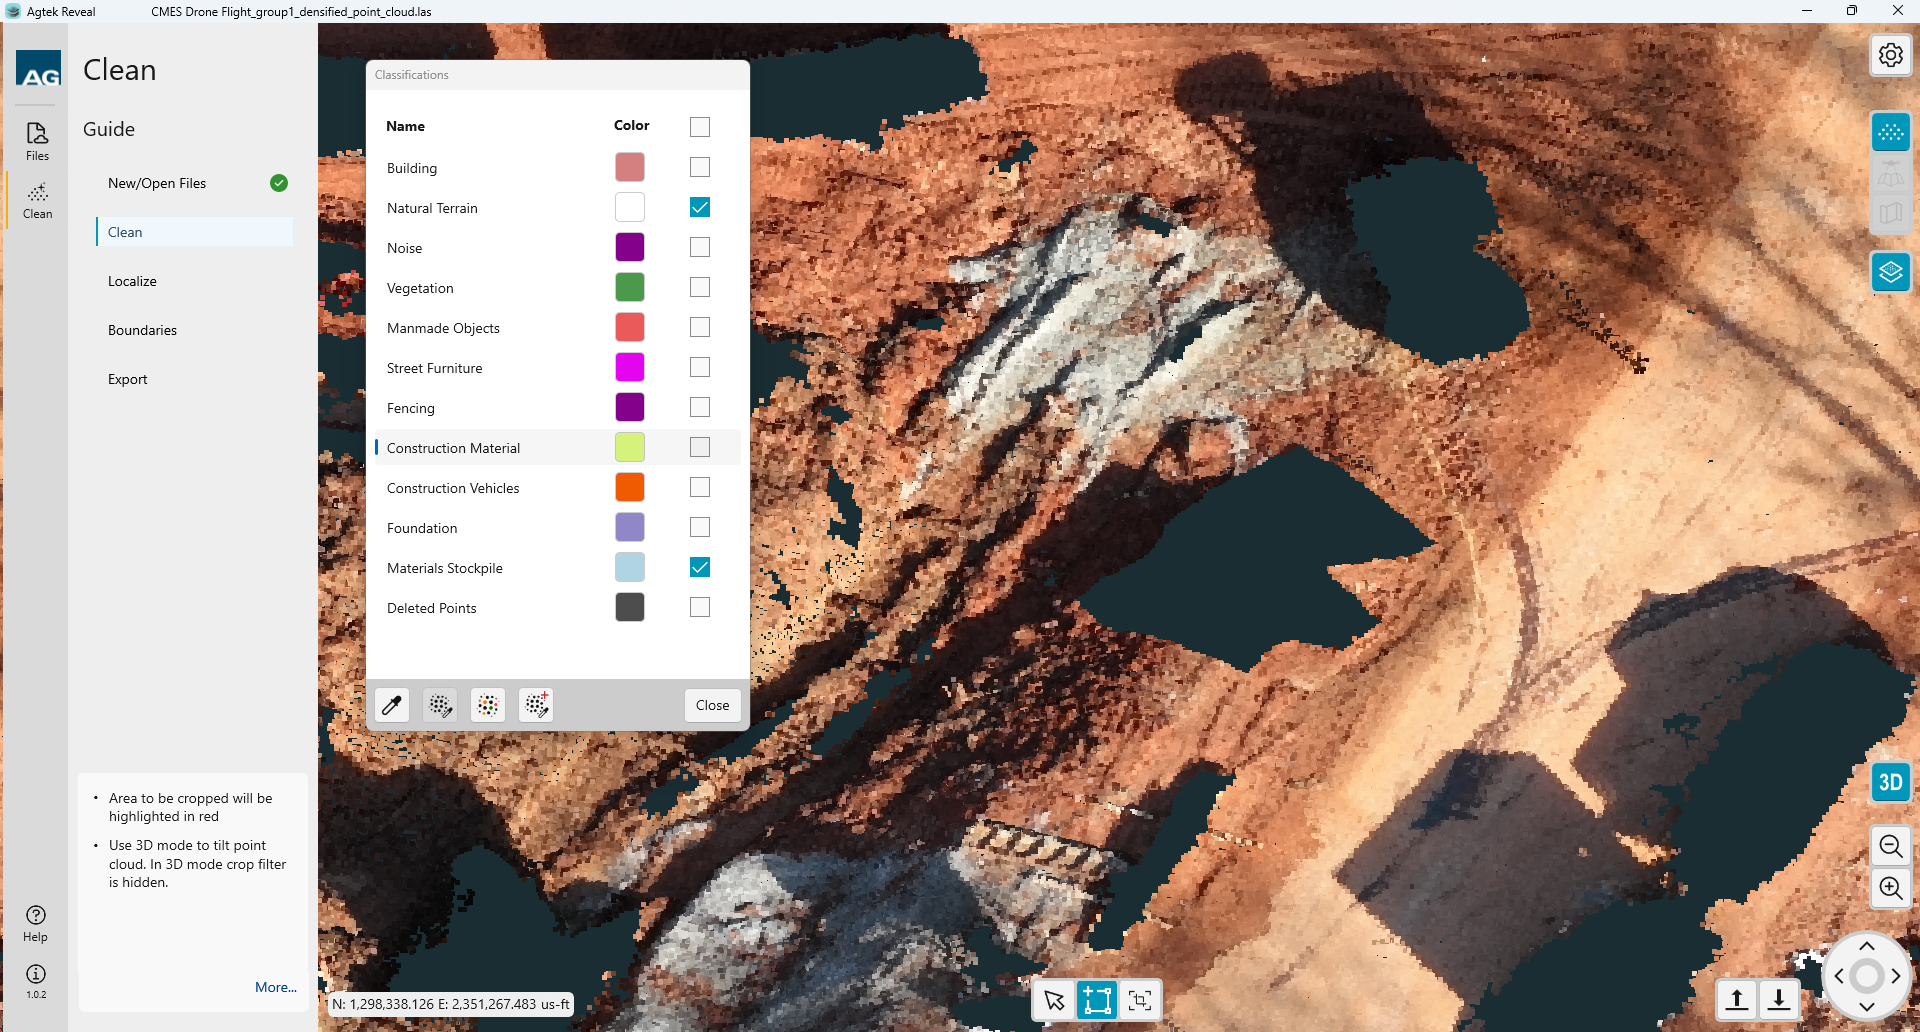
When the boundary is created select the point
classification name from the list of available options. Select Reclassify
![]() .
.
Those points within the boundary will then be moved to that class.
Repeat the process for any additional points you wish to reclassify.
Vertical Crop
You may also select data for classification by using an elevation range. Click the Vertical Crop button at the bottom of the screen.
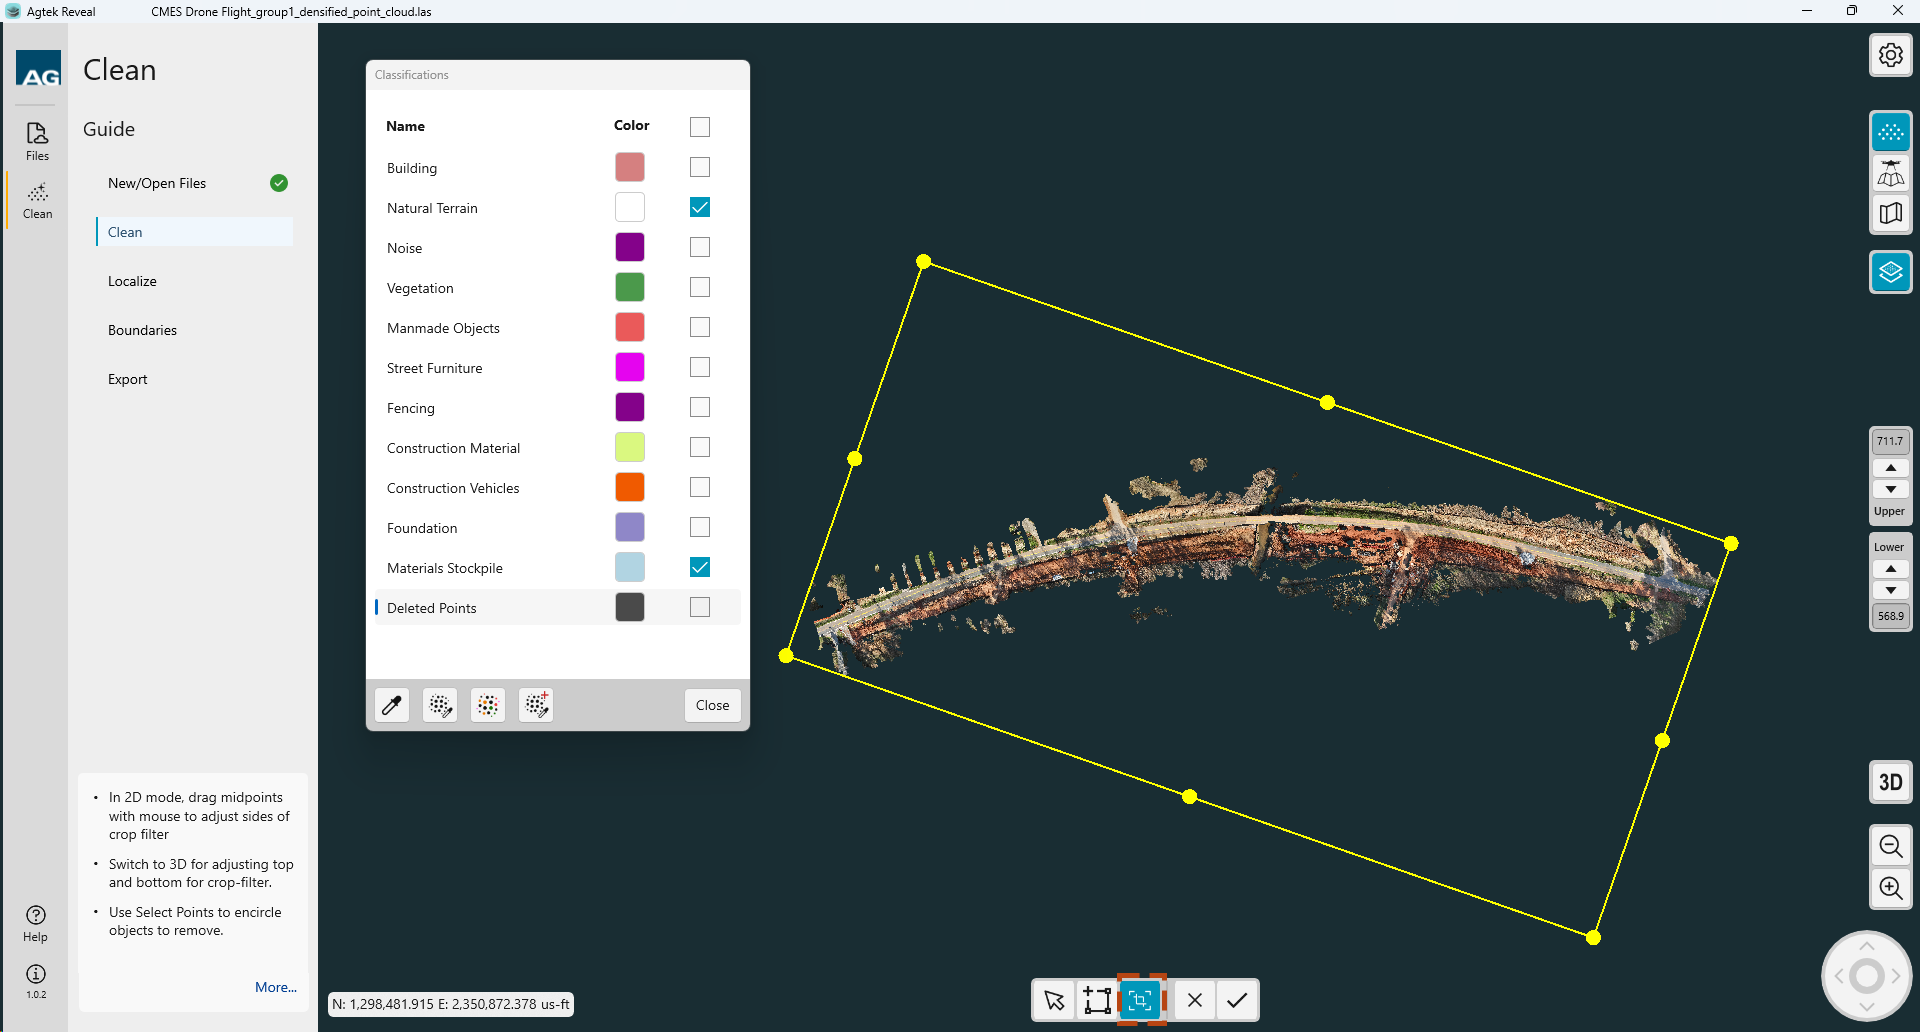
The vertical crop rectangle will display in 2D mode. Drag the corners of the rectangle to the area of concern.
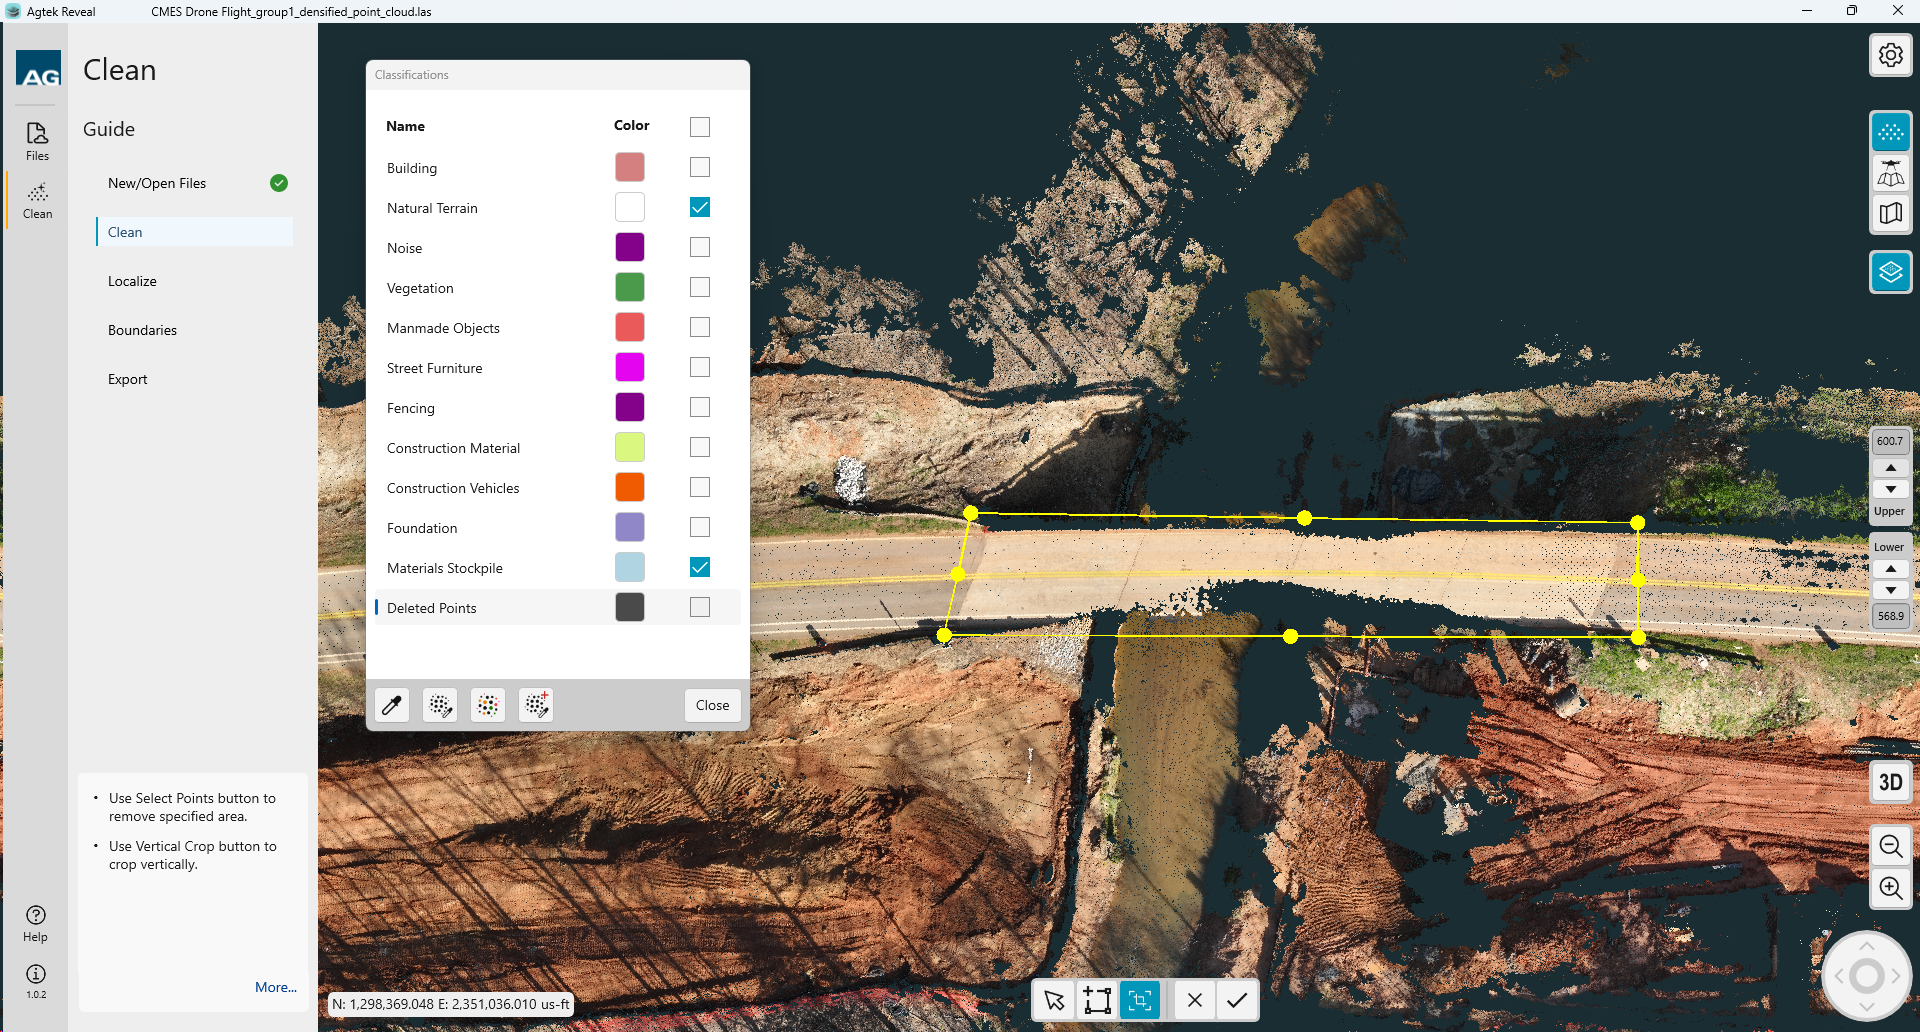
Change the vertical limits on the right side of the screen to the desired elevations. The selected points will turn red.
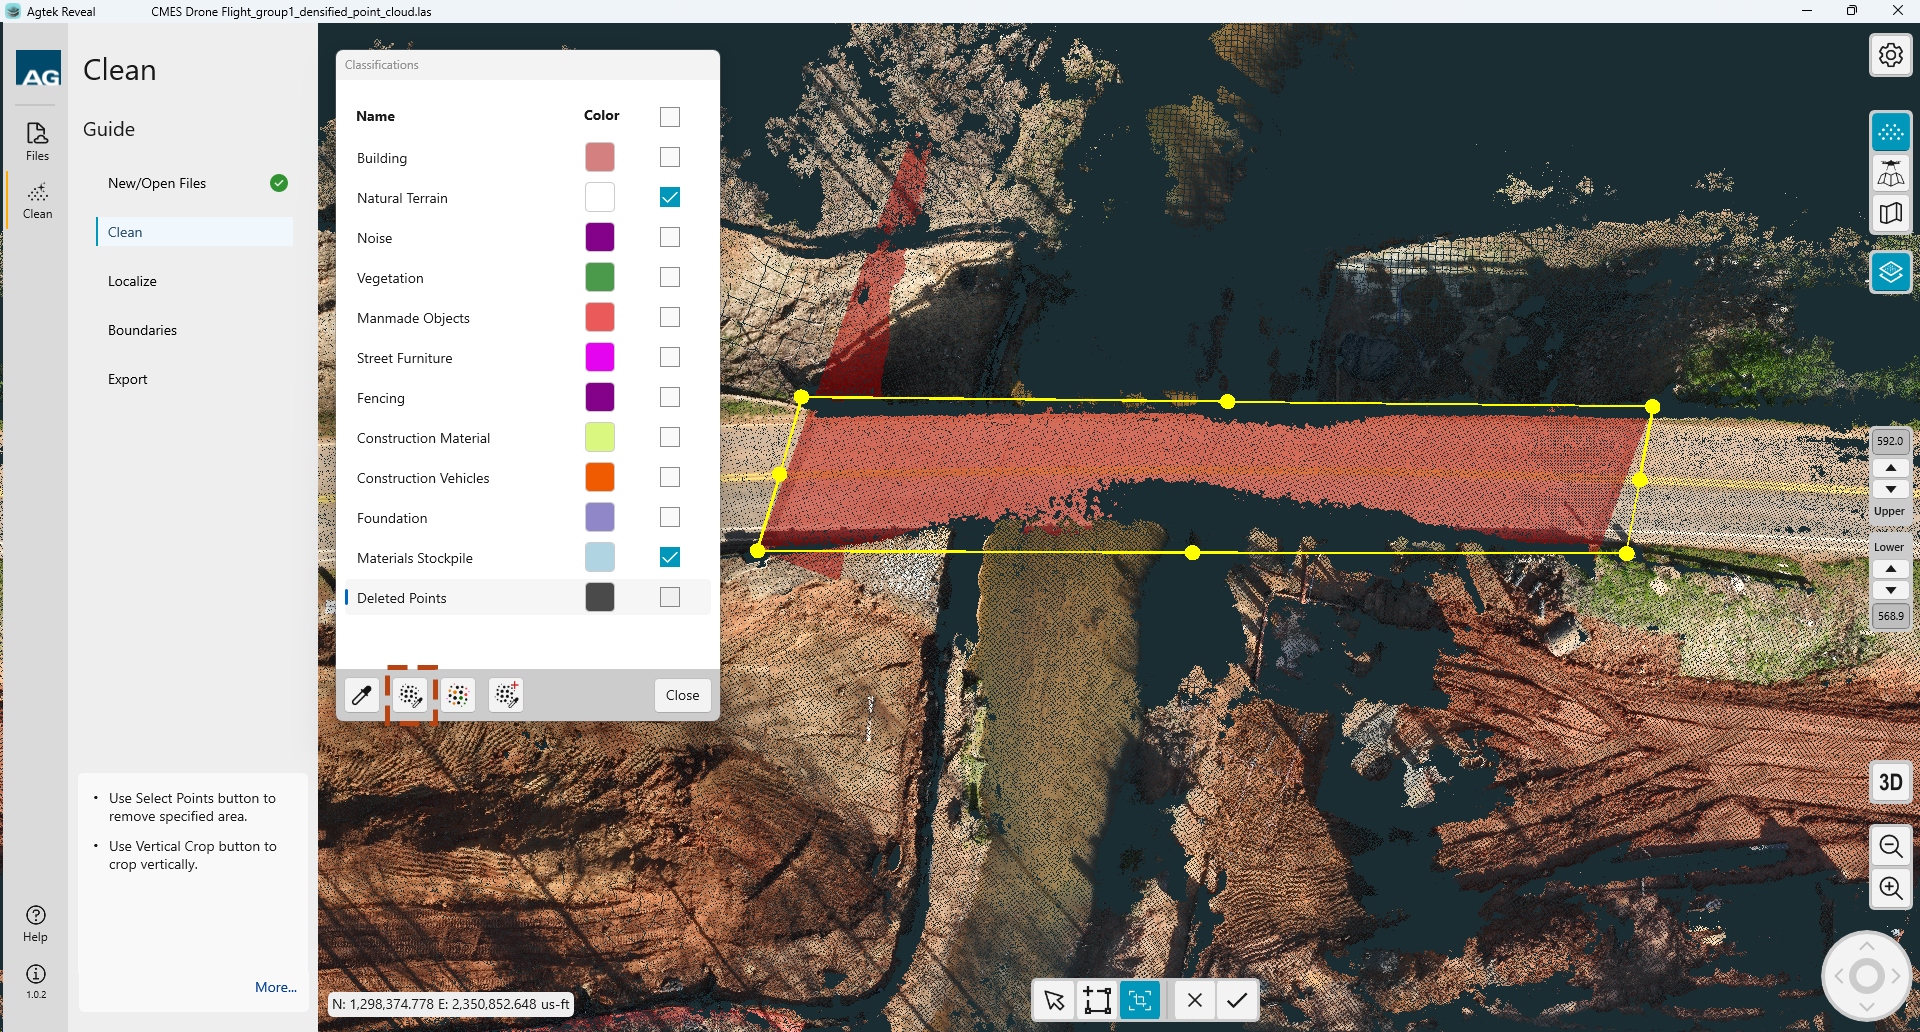
Select the layer you want to change the point classification. Click the Reclassify button. The points will be reclassified.
