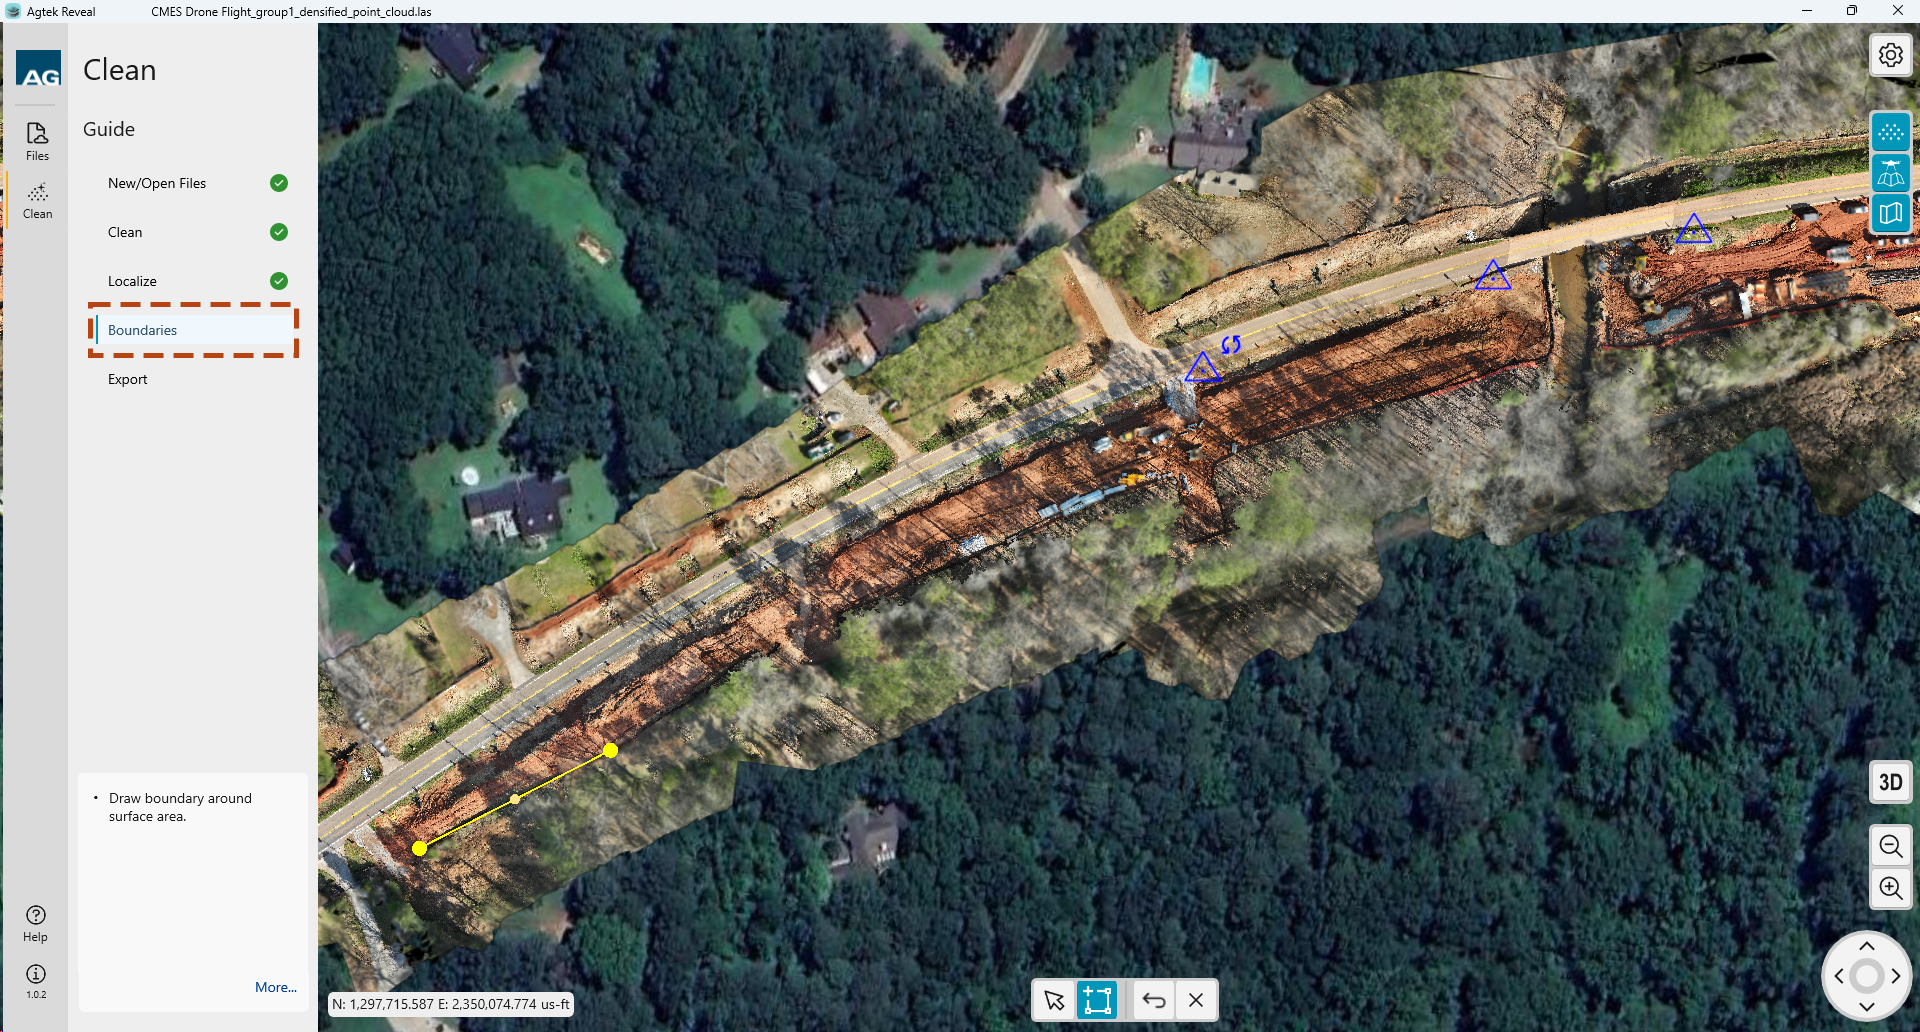
The first step in the process is to define the boundary or limits of your area of interest.
Left click to begin drawing your perimeter.
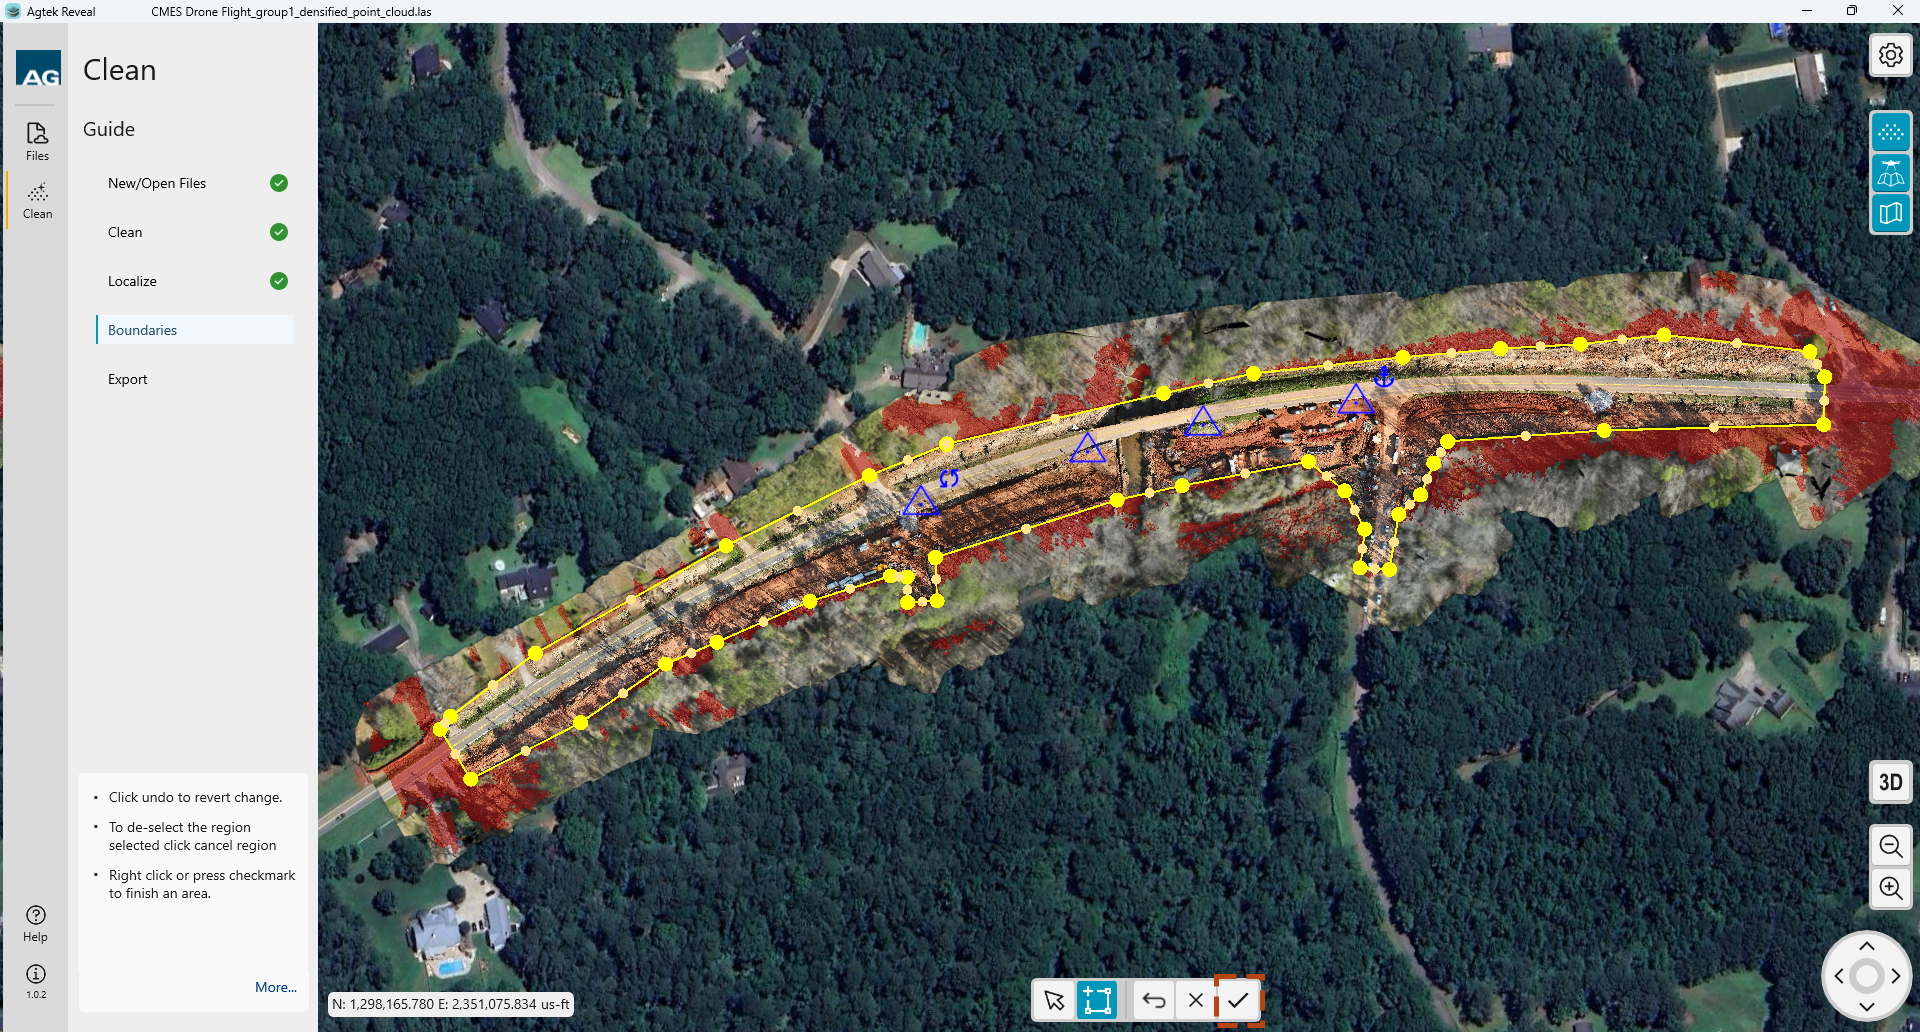
 Edit
the perimeter boundary by selecting the Arrow icon at the bottom of the
screen, then click and drag the created points as desired..
Edit
the perimeter boundary by selecting the Arrow icon at the bottom of the
screen, then click and drag the created points as desired..
Additional points can be created by clicking on the midpoint between two existing points.
![]() At
any time you can click the Undo icon at the bottom of the screen to cancel
the last action.
At
any time you can click the Undo icon at the bottom of the screen to cancel
the last action.
 Once
the perimeter is complete and in the desired location, select the Checkmark
to complete.
Once
the perimeter is complete and in the desired location, select the Checkmark
to complete.
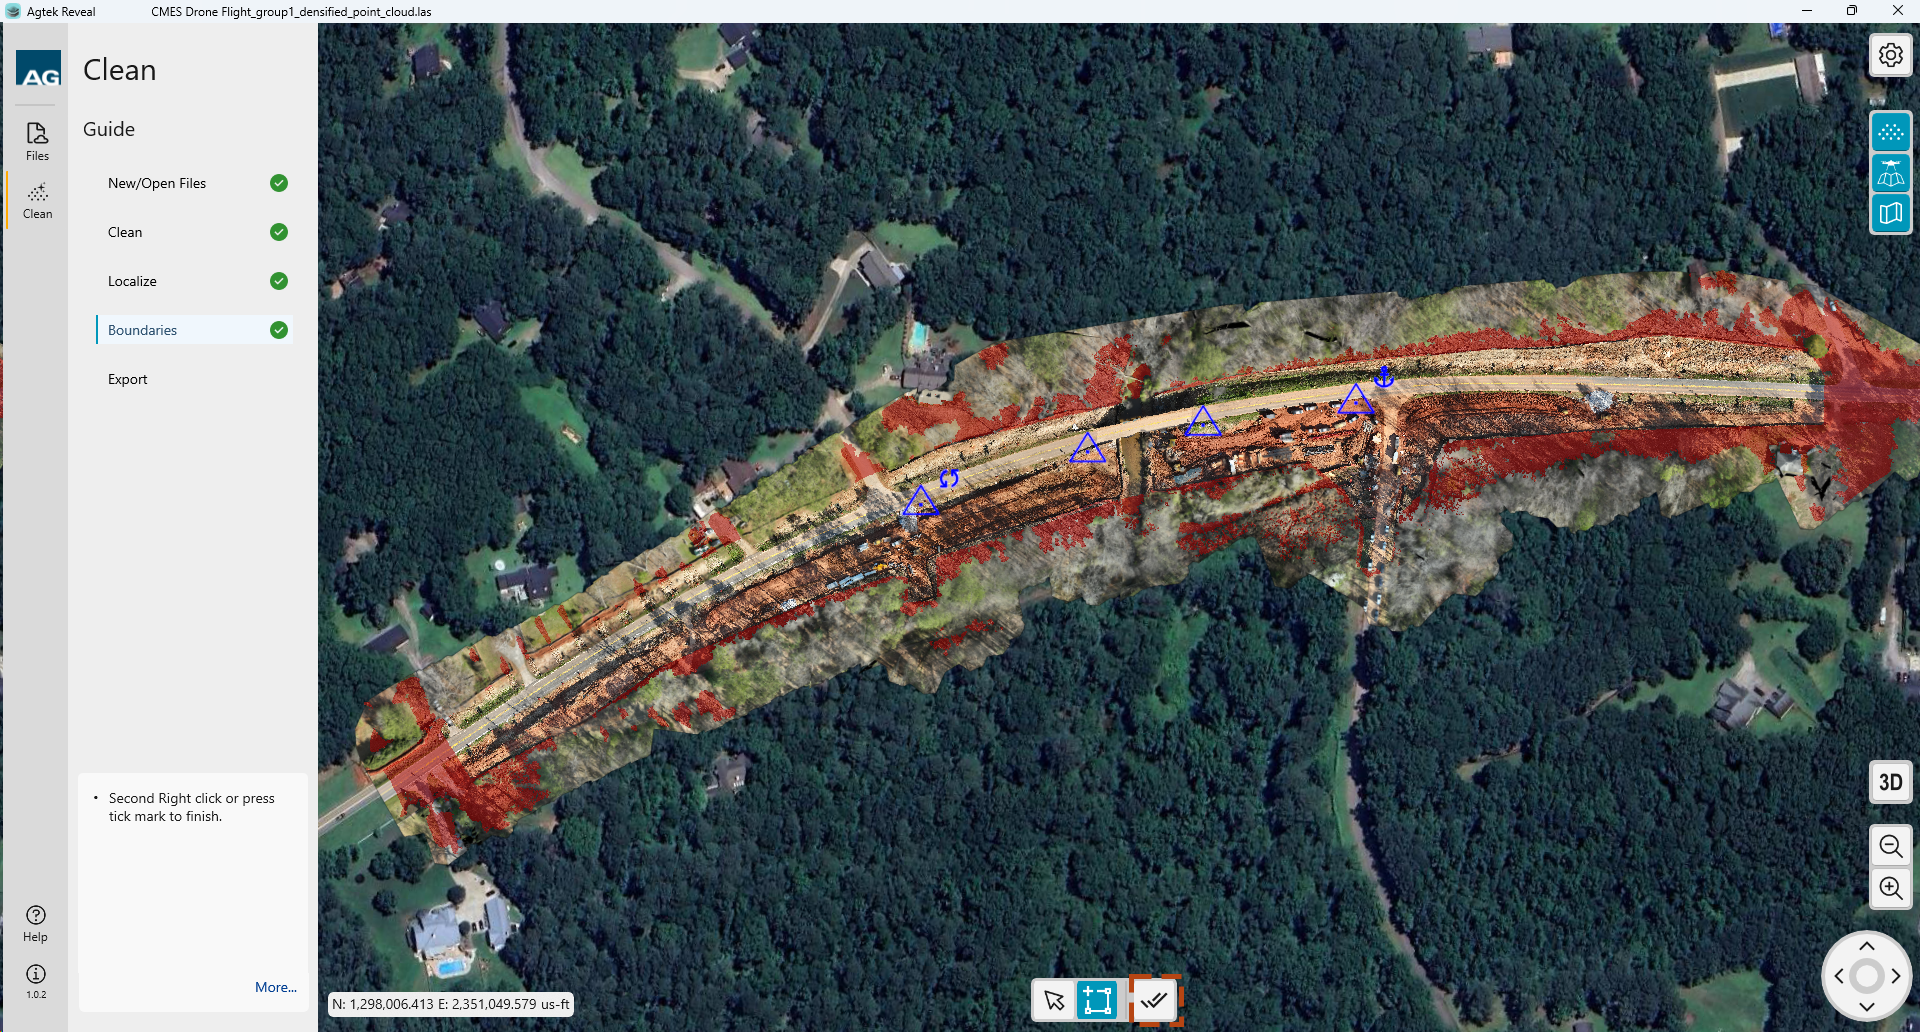
All highlighted points outside the defined Perimeter, shown in red will be placed into a Deleted Points class. Those points will be accessible to you and can be reclassified if needed.
Complete your Boundary creation
by selecting the Set Region icon  . You
will then be directed to the Export options.
. You
will then be directed to the Export options.