
Below are the steps to configure the cursor using TabletWorks.
From the Windows Start Menu, select Settings>Control Panel.
Double-click on the TabletWorks icon to display the TabletWorks Control Panel. Choose the “16-Btn Cursor” icon on the left to display the following window.
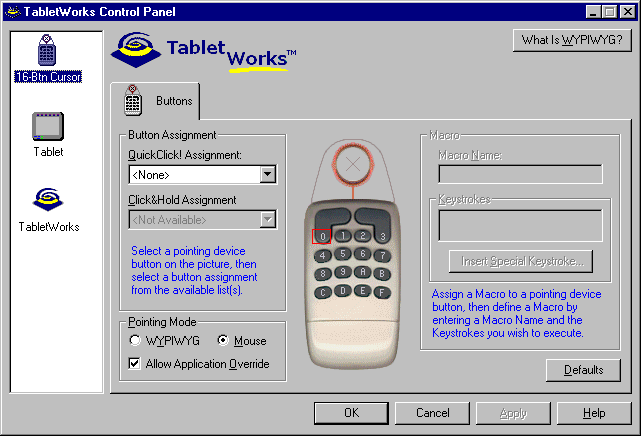
Click on the buttons on the cursor image on the window and use the “Button Assignment QuickClick! Assignment” drop-down menu to assign the following buttons.
|
0 = (None) |
|
1 = (None) |
|
2 = (None) |
|
3 = Left Click |
|
|
|
|
|
|
|
|
|
4 = (None) |
|
5 = (None) |
|
6 = (None) |
|
7 = Right Click |
|
|
|
|
|
|
|
|
|
8 = (None) |
|
9 = (None) |
|
A = (None) |
|
B = (None) |
|
|
|
|
|
|
|
|
|
C = (None) |
|
D = (None) |
|
E = Right Click |
|
F = (None) |
Under Pointing Mode, select Mouse.
Press Apply to finish and OK to close the TabletWorks Control Panel.