Plan Profile is a function designed to attach elevations from a profile line, on a plan sheet, to a digitized Profile Line.
![]()
Scale to the plan sheet for digitized data entry.
![]()
In Entry Mode, digitize the Perimeter in the Existing surface. Switch to the Profile Lines layer of the Design surface and digitize the reference line from Left to Right on the Plan Sheet. For this example, we’ll assume the profile represents the centerline. Press the Blank Key twice to end data entry.
Note: If the plan view shows existing contours, enter them as you would any other contour and do not attach a profile to the existing profile line.
![]()
Switch to Profile View ![]()
![]()
Select Design as the Ref surface.
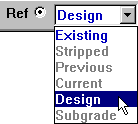
![]()
Select the line and press the Attach Profile Button ![]() from the Utility Toolbar, or select Attach Profile from the Utility Menu. The Tablet Profile Scaling window displays.
from the Utility Toolbar, or select Attach Profile from the Utility Menu. The Tablet Profile Scaling window displays.
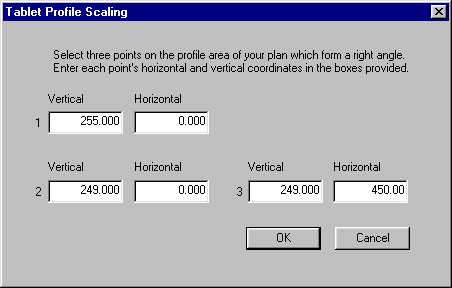
Note: If the Attach Profile button is grayed-out, check that the following items are true:
-
The Ref Surface is either Design or Existing only. Subgrade, Stripped or any other surface can not be used.
-
The digitized reference line is selected.
![]()
Using the elevation as the vertical, and the station distance as the horizontal, select three points with known vertical and horizontal coordinates, which form a right angle over the profile area on the plan sheet. On the profile example below, the three selected points are circled.
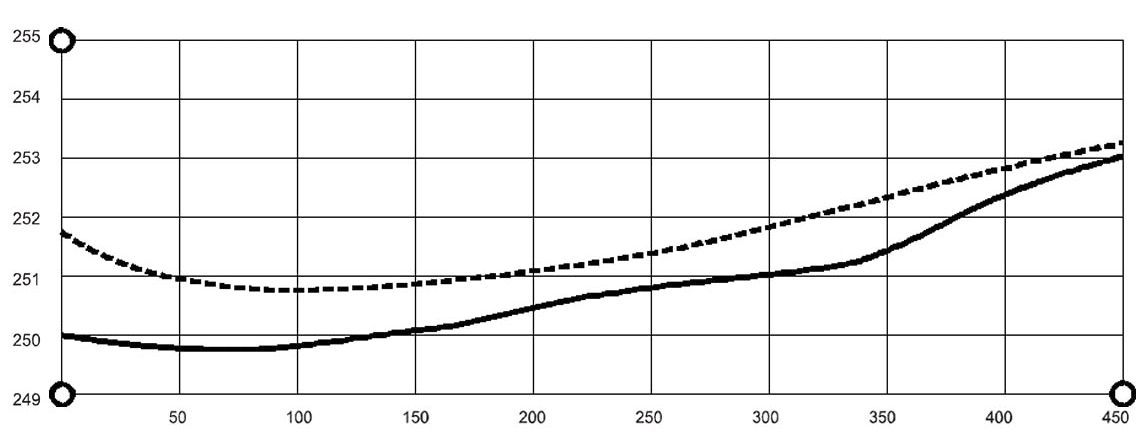
![]()
Type the coordinates for each of the points of the right angle. Press OK to continue. The following window displays.
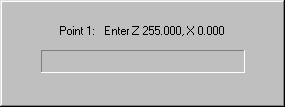
![]()
Place the cursor over the first point and press the Enter Button on the cursor. Repeat this process for the remaining two points.
![]()
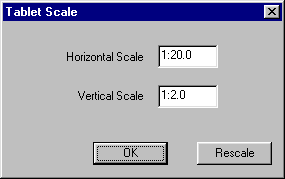
When all three points have been entered, the scale confirmation window displays.
![]()
Verify that the scale is within reason and press OK to continue or Rescale to repeat the scaling process.
![]()
Place the cursor over the start of the design profile. Enter points from left to right over the design profile line. As you enter points, you will see the profile being traced displayed at the bottom of the screen.
![]()
Press the Blank Key to end data entry.
![]()
The entered profile now displays at the bottom of the screen and should match the one on the plan sheet. Since the profile is already scaled, switch the Ref surface to Existing and enter the profile for the Existing ground. Other profiles are entered using the steps previous listed.